Mule Runtime (or Mule) is a lightweight integration engine that runs Mule apps. Rather than creating multiple point-to-point integrations between systems, services, APIs, and devices, Mule apps manage message routing, data mapping, orchestration, reliability, security, and scalability between nodes.
A container is a standard unit of software that packages up code and all its dependencies so the application runs quickly and reliably from one computing environment to another. A Docker container image is a lightweight, standalone, executable package of software that includes everything needed to run an application: code, runtime, system tools, system libraries, and settings.
In this tutorial, we will build a Mule4 image and run a Hello World on Docker
Versions used: Mule Runtime 4.1.4, CentOS 7, Docker version 18.09.0-beta3, build 7718f80
Part 1: Create a HelloWorld application in Anypoint Studio
Step 1: Download MuleSoft Anypoint Studio from https://www.mulesoft.com/lp/dl/studio.
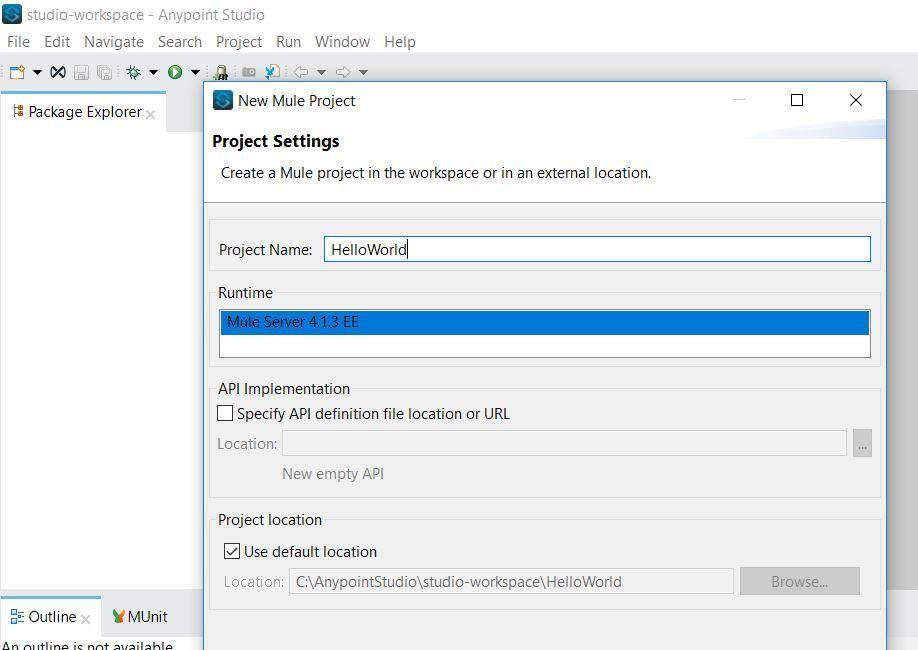
Step 2: Create a New Mule Project.
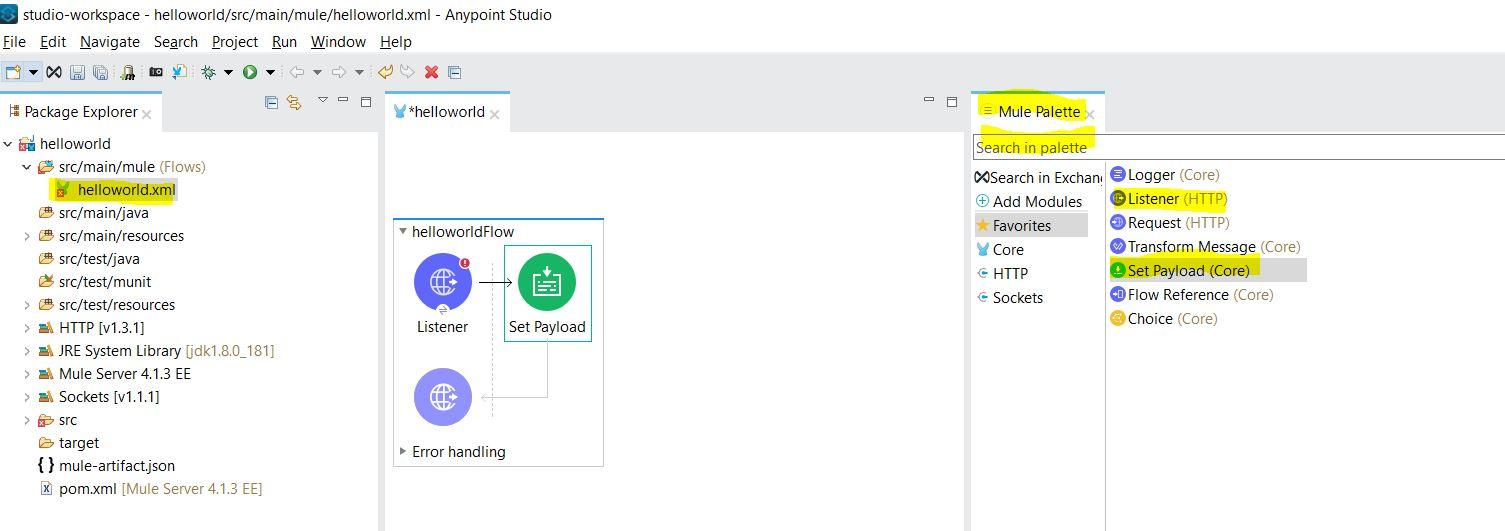
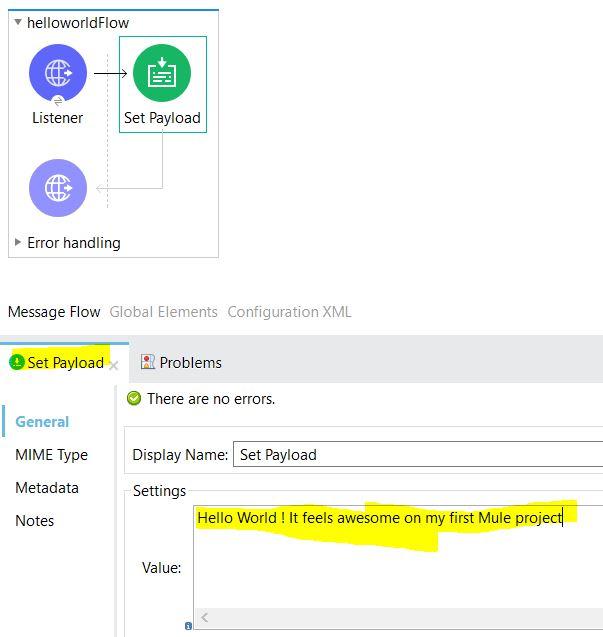
Step 2a: Expand the project. Click on the helloworld.xml file. On the right-hand side, you will notice the Mule Palette. Drag and Drop the Listener (HTTP) and SetPayload(Core) in sequence to the Message Flow pane that’s in the middle of the following diagram.
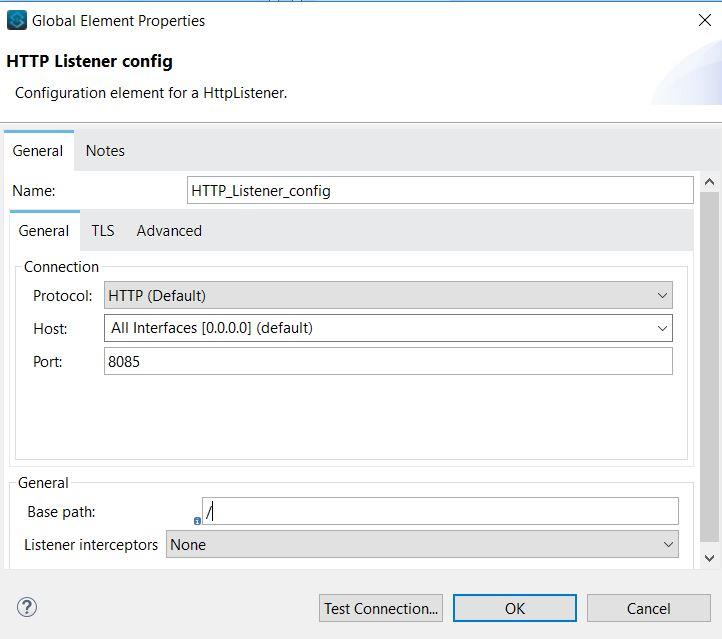
Step 3: Configure the Listener.
Leave the default configuration as is and Enter “/” in the Base Path. Do a Test Connection.
Step 4: Configure Set Payload.
Click on Set Payload and enter something of your choice.
Step 5: Time to run the app. Right-click on the Project hello world -> Run As -> Mule Application.
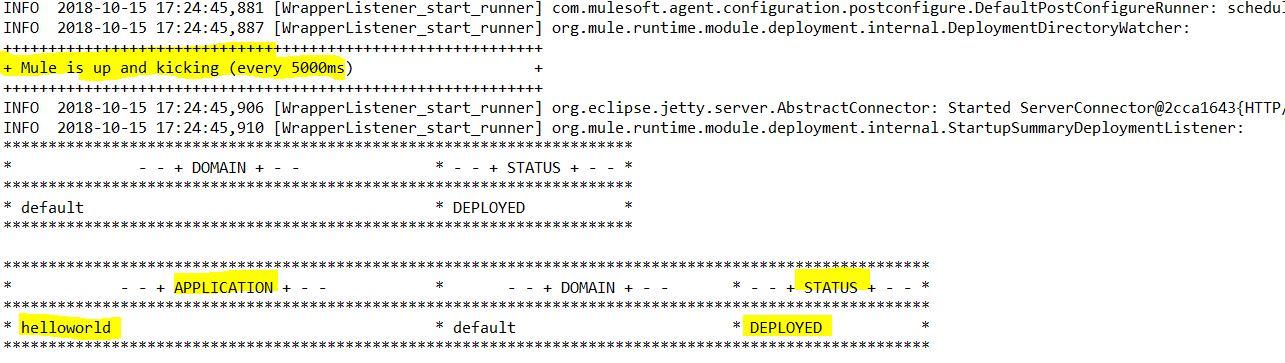
Yes, Mule is up and kicking.
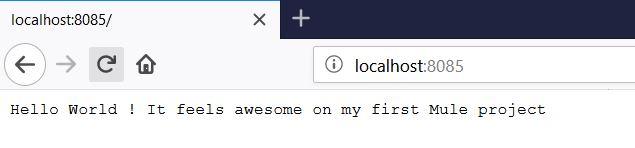
Step 6: Open a browser and type http://localhost:8085.
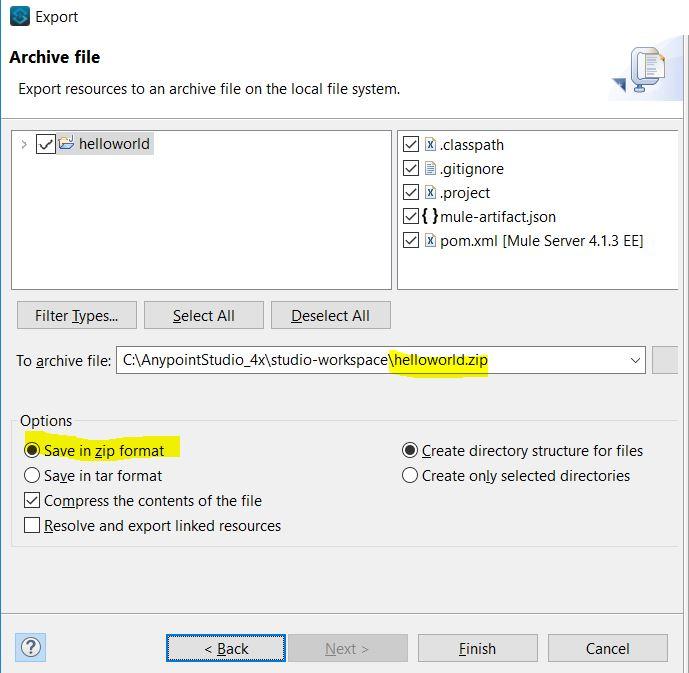
Step 7: Export in Zip Format.
Click File > Export and General > Archive File and click Next

Part 2: Build Mule 4 Image and Run the HelloWorld application in a Docker Container
Step 1: Download and install Docker CE for CentOS 7 https://docs.docker.com/install/linux/docker-ce/centos/#install-docker-ce.
$ sudo yum install docker-ce
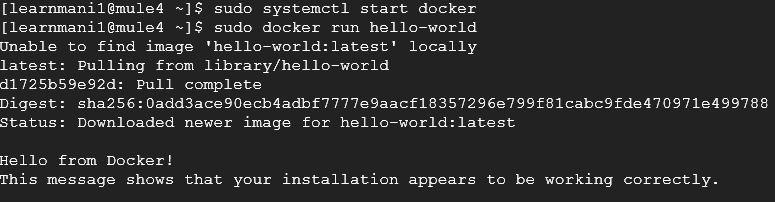
$ sudo systemctl start docker
Step 2: Verify that the docker is installed correctly by running the hello-world image.
Step 3: Docker post-installation tasks to add $USER to the Docker group.

Step 4: Download Mule 4 EE Standalone from https://docs.mulesoft.com/mule-runtime/4.1/runtime-installation-task.
*You need to have a support account to download. Free or Trial account does not have permission to download. Upload the file to the CentOS VM.
Step 5: Upload the license.lic file to the VM. If you don’t have a license file, then you need to comment on the license section from the Dockerfile. Mule will use a trial license internally.
Step 6: Upload the helloworld.zip file.
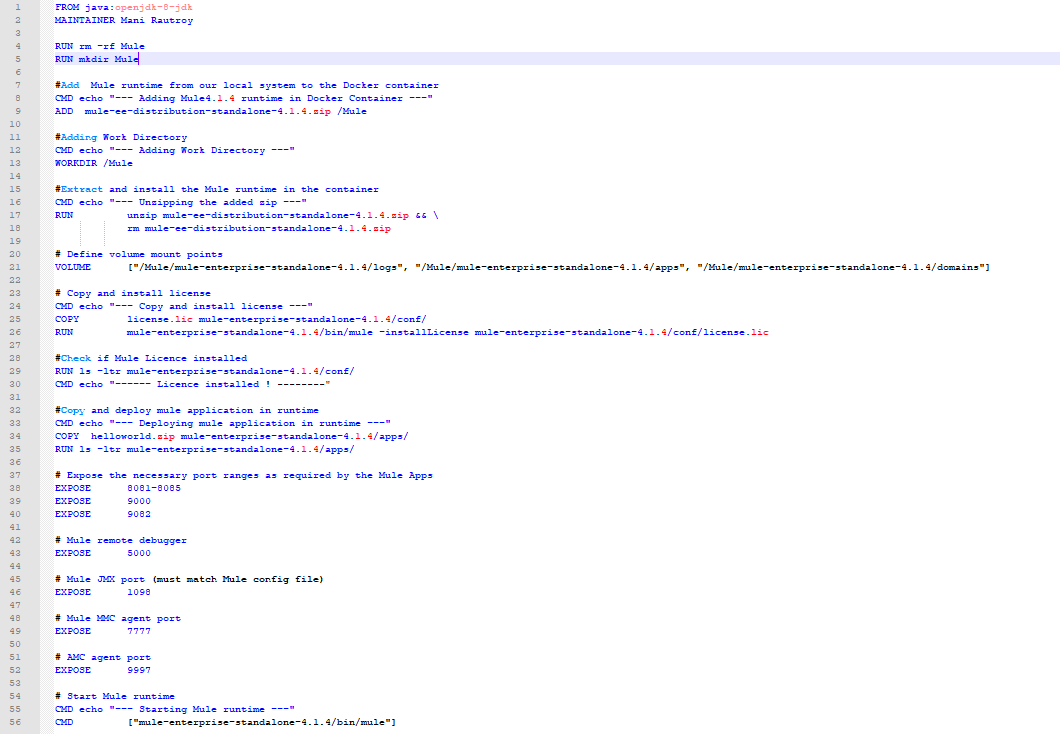
Step 7: Create a Dockerfile and paste the following content. Upload the Dockerfile to VM.
Download the docker file from here.
Step 8: Now, you are ready to build the image.

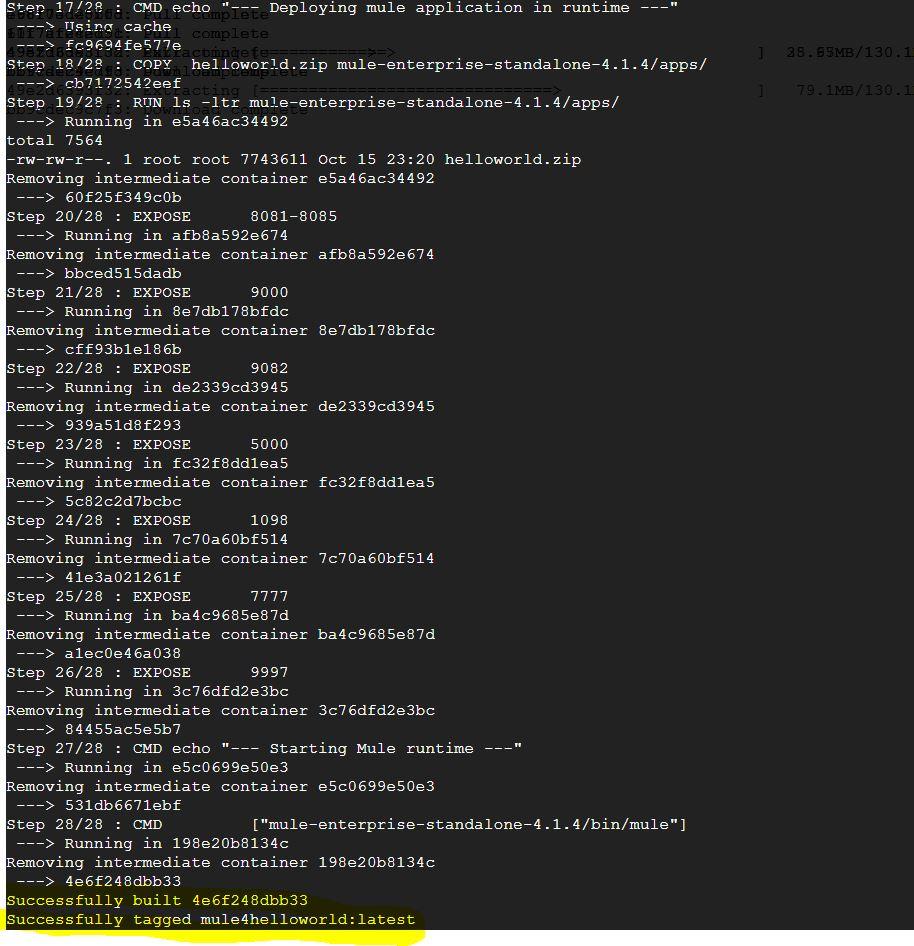
Step 9: Check the Built image.

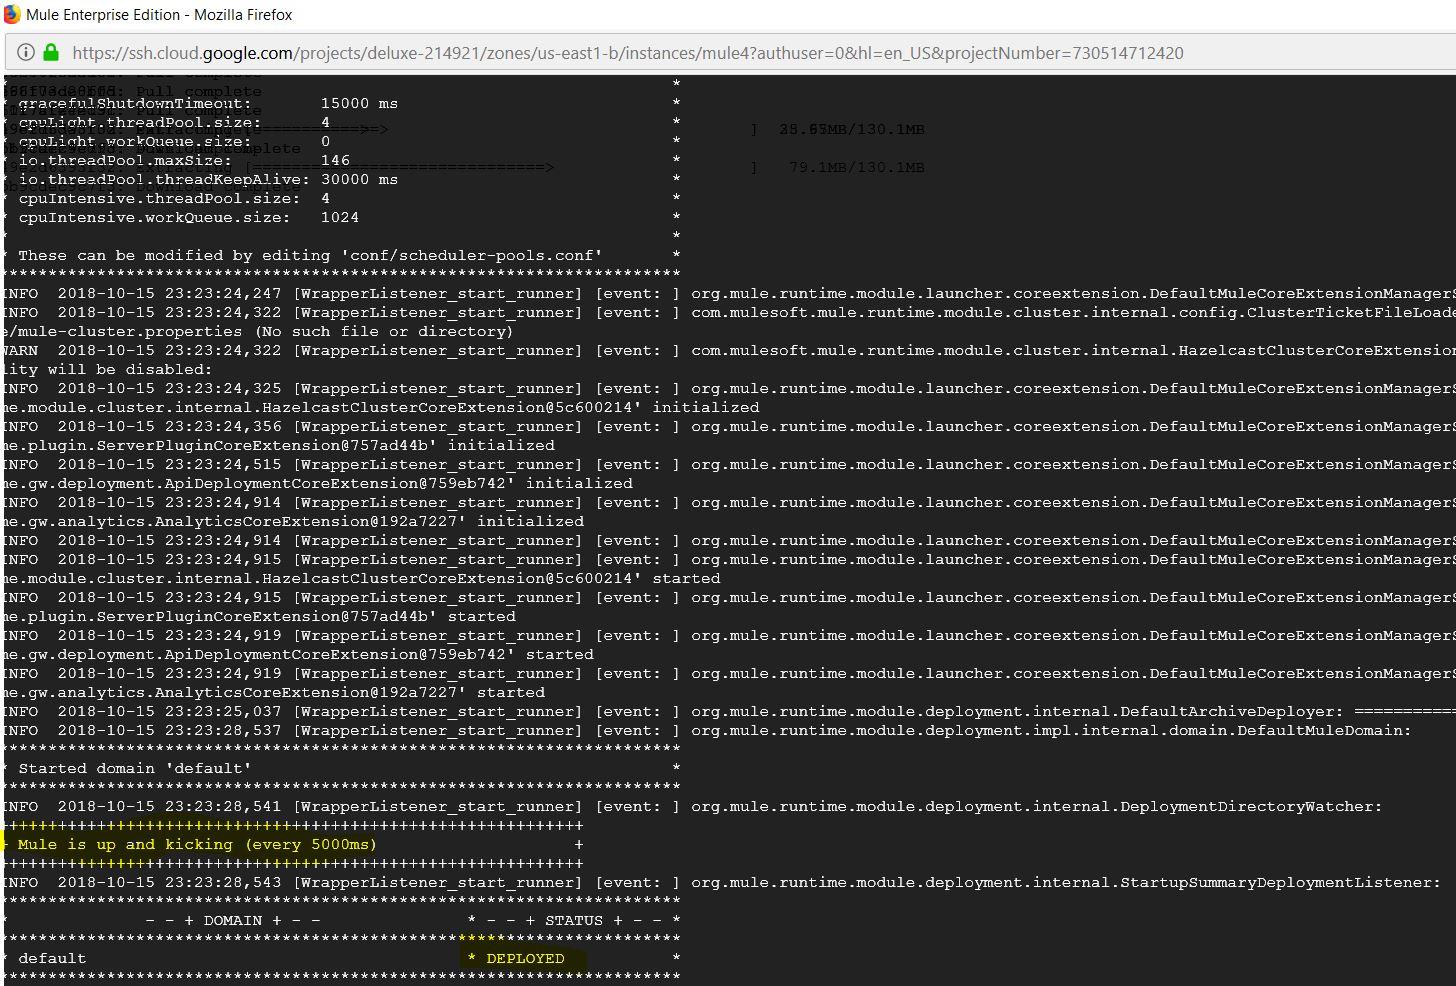
Step 10: Let’s get Mule up and kicking.
Running Mule in the foreground.

You can do Ctrl+X to exit and Run Mule in Background.

Verify the container status (N: B You can docker user group.

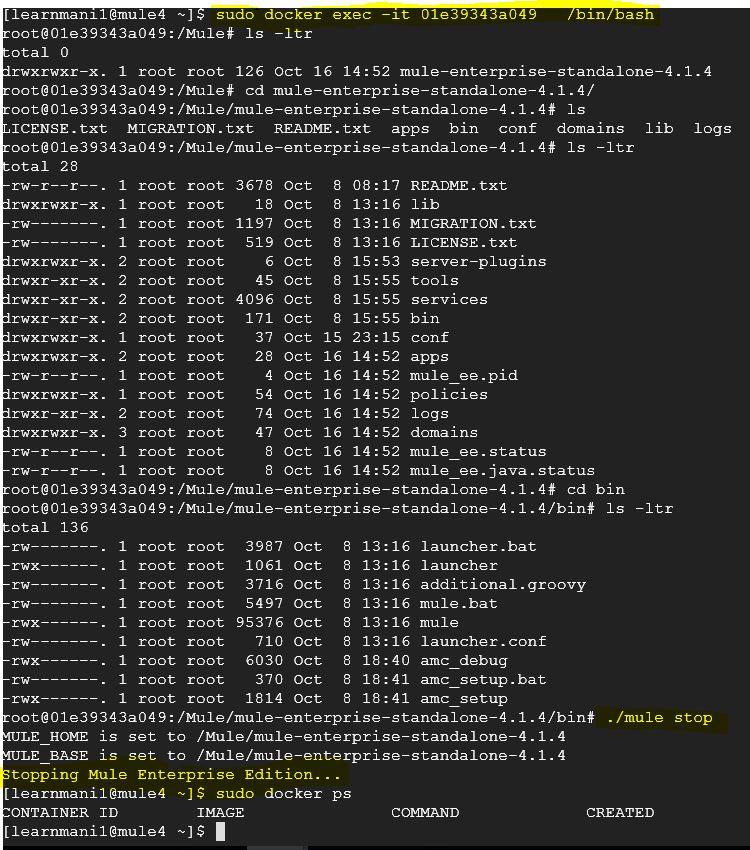
Step 11: Stopping MuleWe can get inside the container and issue a ./Mule stop command from the /bin directory or you can simply remove the container.

If you have any questions or concerns about how MuleSoft works, MuleSoft API architecture, or a MuleSoft API strategy please put them in the comment section below, or reach out to us here.