Data Exchange in EBX
Data exchange in EBX MDM is an add-on that is used to import and export data. We can perform import and export operations on the CSV, Excel, and XML file formats. In Data Exchange, we can define data mapping configurations between source and target data structures. Users can transfer data between the EBX tables in the same or other data models using the Data Exchange service. We can import and export data at different levels:
- At the table level, data can be imported and exported to CSV, Excel, and XML file formats in EBX.
- The Data Exchange service allows us to transfer data directly between the EBX tables in the same or different data models at the dataset level.
Importing data from a CSV file
We can follow the steps below to import CSV data into EBX tables.
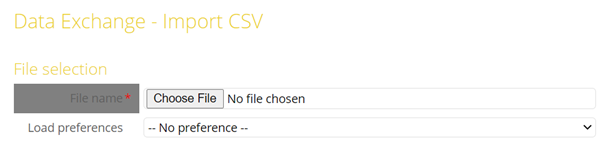
1. Upload file:
To upload a file, select the CSV file from your local system. Then, we can configure settings for the import operations, as explained in Step 2 below.
2. Configure import specifications:
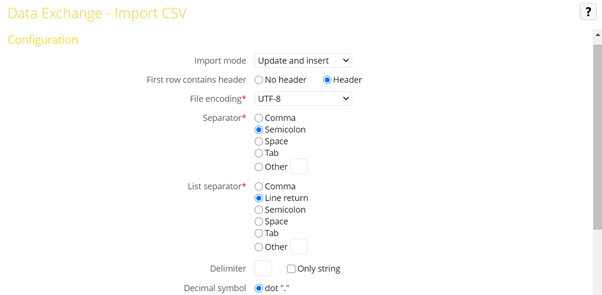
These are the options specific to CSV import configuration.
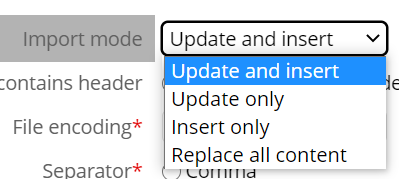
Import mode: In the Import mode, we have different options to handle existing data, as shown in the screenshot below.
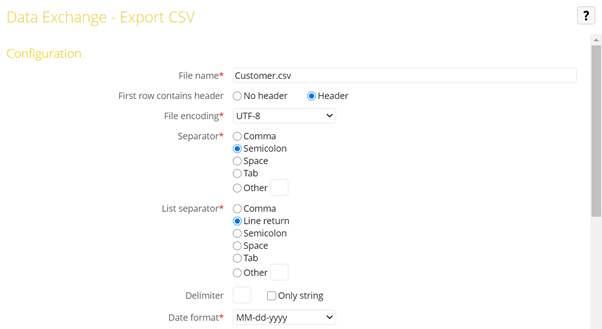
The first row contains a header: This option allows us to specify whether to consider the first row as the header depending on whether the CSV file has a header or not. The default option assumes the first row as the header.
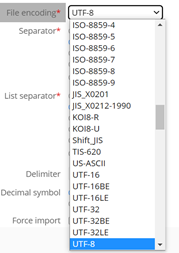
File encoding: We can choose the character encoding for the contents of the file being imported.
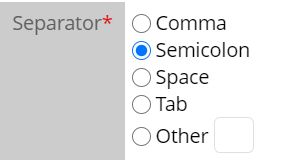
Separator: The character used to separate cells in the CSV file. The default settings for this is a semicolon (;).
Delimiter: The character used to indicate the beginning and the end of values. It is a common practice to use double-quotes (“) as a string delimiter in CSV files.
Only string: If selected, the delimiter is used for string data types only. Otherwise, it is applied to all data types.

Decimal symbol: Specifies the character used to indicate a decimal.

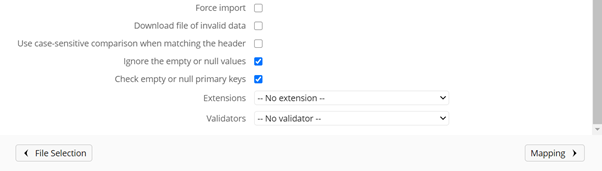
Force the import: This option allows the data to be imported, disregarding all the constraints and disabling all triggers.
Download file of invalid data: Rows with data errors are exported to an output file.
Use case-sensitive comparison in matching header: If selected, lower-case and upper-case are differentiated when matching the imported file’s column header with the field’s label.
Ignore the empty or null values: If selected, the empty and null values from the input file are ignored. This is turned on by default.
Check empty or null primary keys: This option ensures only non-null and non-empty values are imported into the primary keys.
Extensions: List of Java classes used for transforming the data as part of import/export operations.
Validator: Specifies the Java class used to validate the imported data.
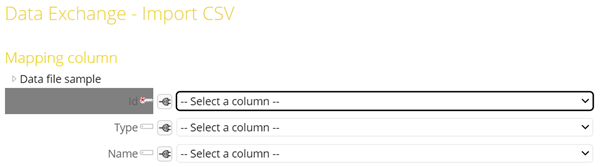
3. Map the input file to fields:
We can configure the source-to-target mappings.
These preferences can be created and saved after the mapping configuration is complete. These saved preferences can be used to import multiple data files into an EBX table.

4. Simulate and complete the import:
Before running the import, we can run a simulation to validate the import specifications. This validation detects mapping issues and data type incompatibilities between source and target. We can proceed with the import with validation errors by checking “Import only valid records” which imports valid data and ignores invalid data. Importing data with validation errors would fail if we do not check this option.

The following message would be displayed if the import fails.

Exporting data to a CSV file
We can export data from an EBX table to a CSV file using the Data Exchange add-on.
1. Select the desired table for export:
Select the desired table under the dataset. If required, we can use a View to select only the required data to be exported from the table.
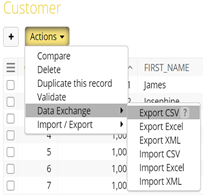
2. Select the export options:
From the table’s Actions menu, select Data Exchange > Export CSV or Export Excel.
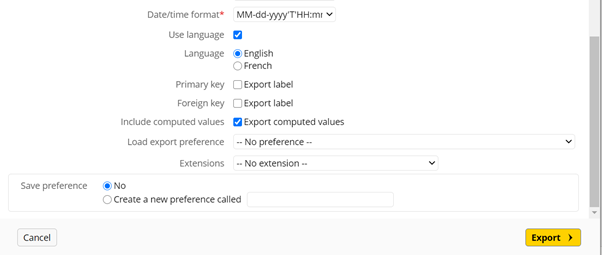
3. Configure export specifications:
To export the desired data, we must configure different export options based on the data we need. Most of these options have already been explained in Import Configurations.
4. Download the file:
Once we click on the Export button, the file is downloaded to the desired location.
Data Transfer
Data Exchange services allow transferring data directly between two EBX tables within the same data model or different data models. Here are the steps to transfer data between EBX tables.
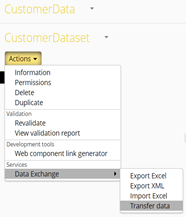
1. Select the table to transfer data from:
Navigate to and select the desired dataset. In the Actions drop-down menu, select Data Exchange > Transfer Data.
2. Configure data transfer specifications:
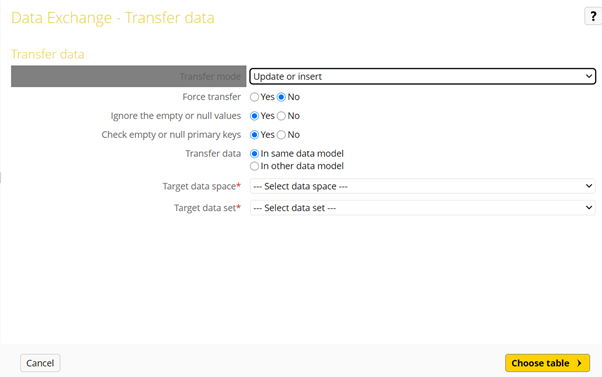
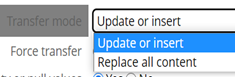
Transfer Mode: This has two options (“Update or insert”, and “Replace all content”).
Force Transfer: All the constraints are ignored, and triggers are disabled if this option is used.
Ignore the empty or null values: If selected, the empty and null values from the source table are ignored.
Check empty or null primary keys: This option ensures only non-null and non-empty values are imported into the primary keys.
3. Transfer data:
We need to choose whether to transfer data within the same data model or in another data model.

We must select the target dataspace, dataset, and tables.

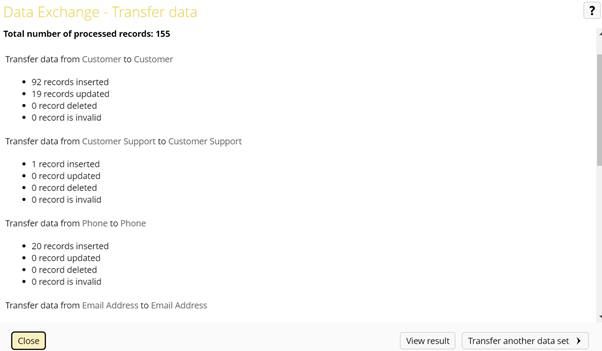
We can see the following status and output after a successful data transfer.