Platform as a Service (PaaS): PaaS in cloud computing provides a fully managed infrastructure environment for customers and developers to develop and manage their applications without having to worry about managing own infrastructure. The services can be shut down with the click of a button. There are many PaaS provides, but the most popular ones are Amazon AWS, Microsoft Azure, IBM Bluemix, Google App Engine.
Azure App Services: Microsoft Azure offers the following types of Application Services.
- Web Apps
- Mobile Apps
- API App
- WebApp for Containers
Prerequisites for creating Web Application from Azure portal:
- Azure Subscription account
Presented below are the steps to create and publish a Web Application using Azure App Service.
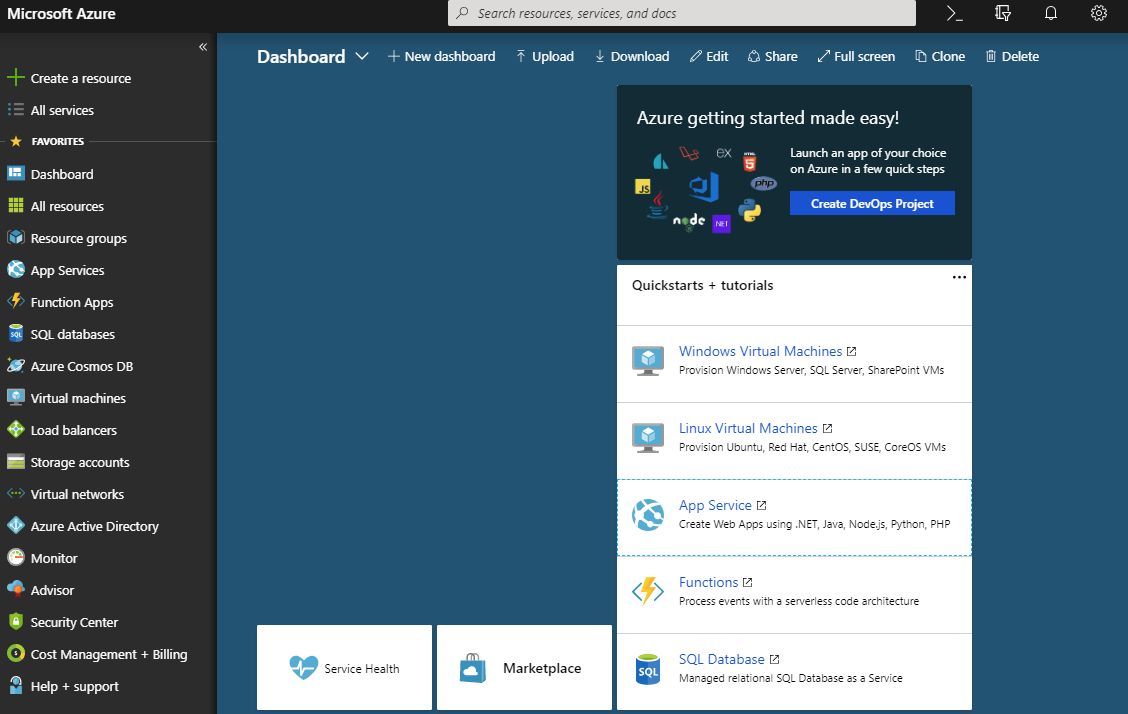
Step 1: Login to Azure portal. Select the App Services from the dashboard.
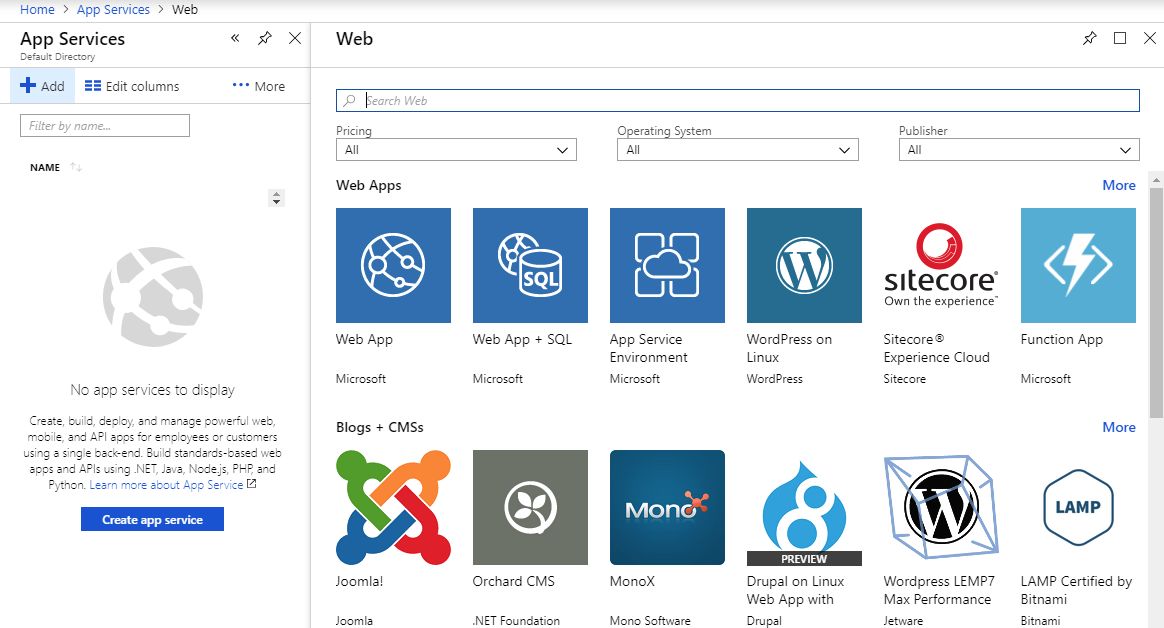
Step 2: Click + Add icon to provide required details such as Name of the App, Resource Group Name, etc.

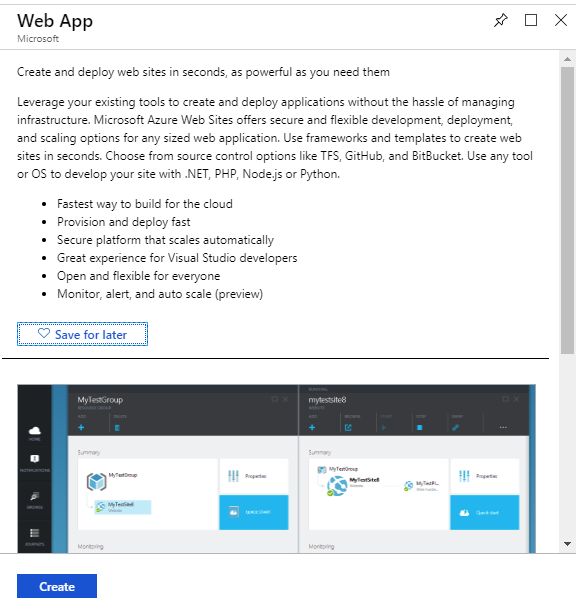
Step 3: Select Web App from the options presented.
Step 4: Click on Create button to proceed further.
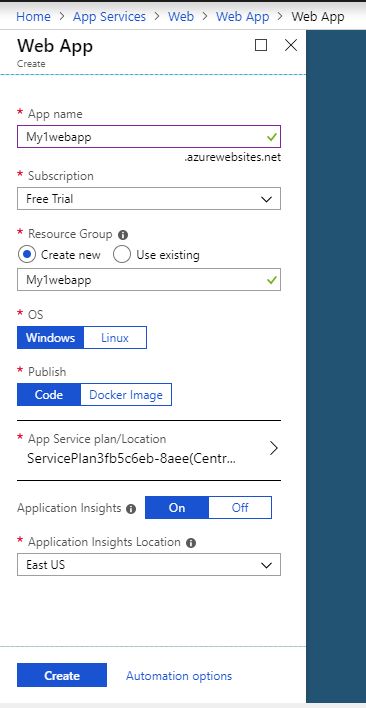
Step 5: Provide the Application Name, Subscription Type, Resource Group, OS Type, Publish Type, App Service Plan/Location, Application Insights. The App Name for instance here is “My1webapp”. Click the Create button. At this point, the details provided would be verified.
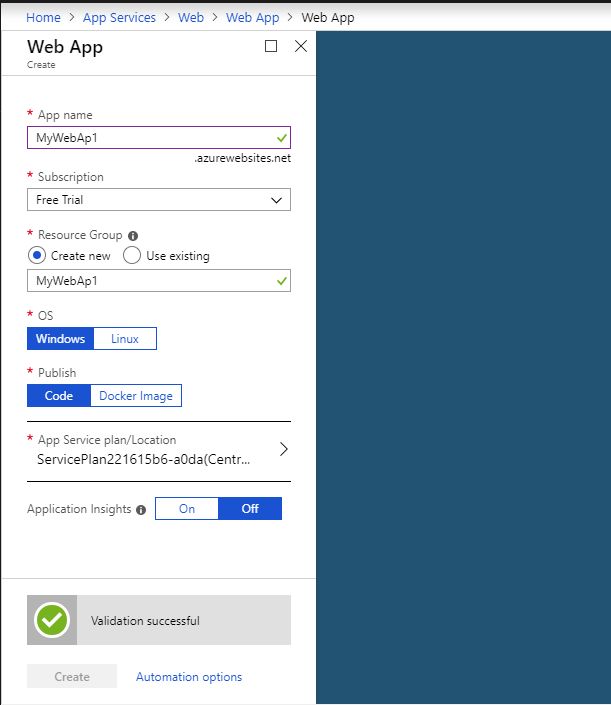
Step 6: If everything goes well, then we should see “Validation Successful” message.
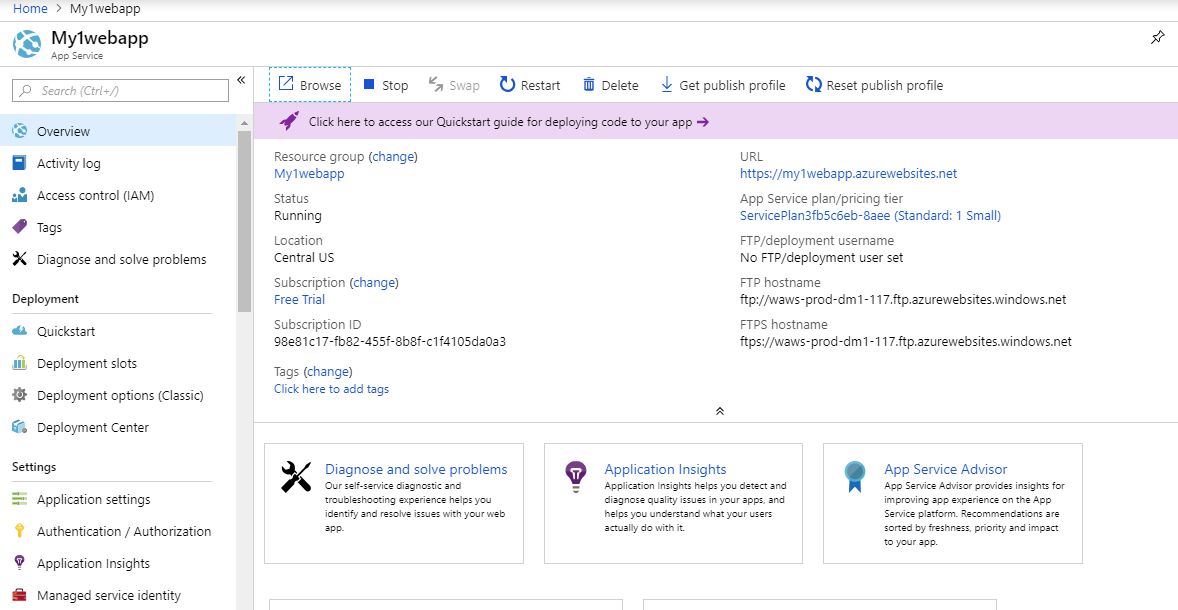
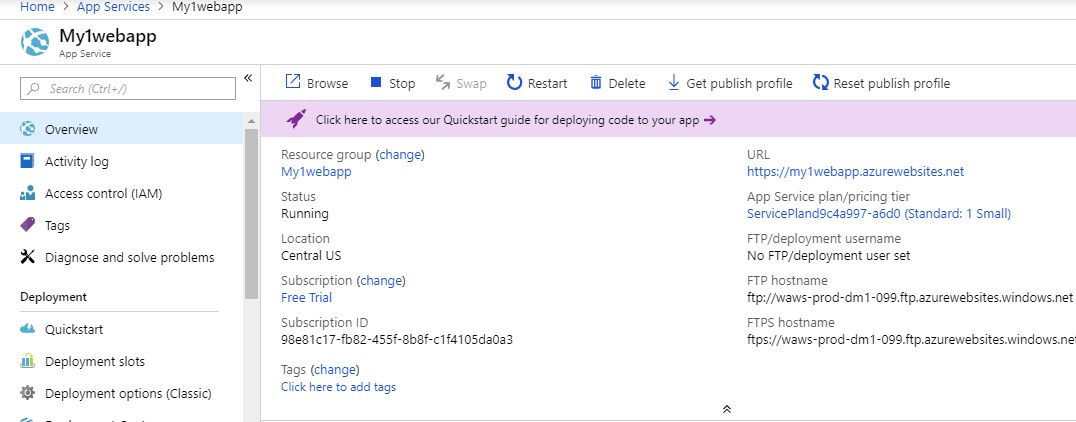
Step 7: The following page would be presented with details and status related to the Web App we just created.
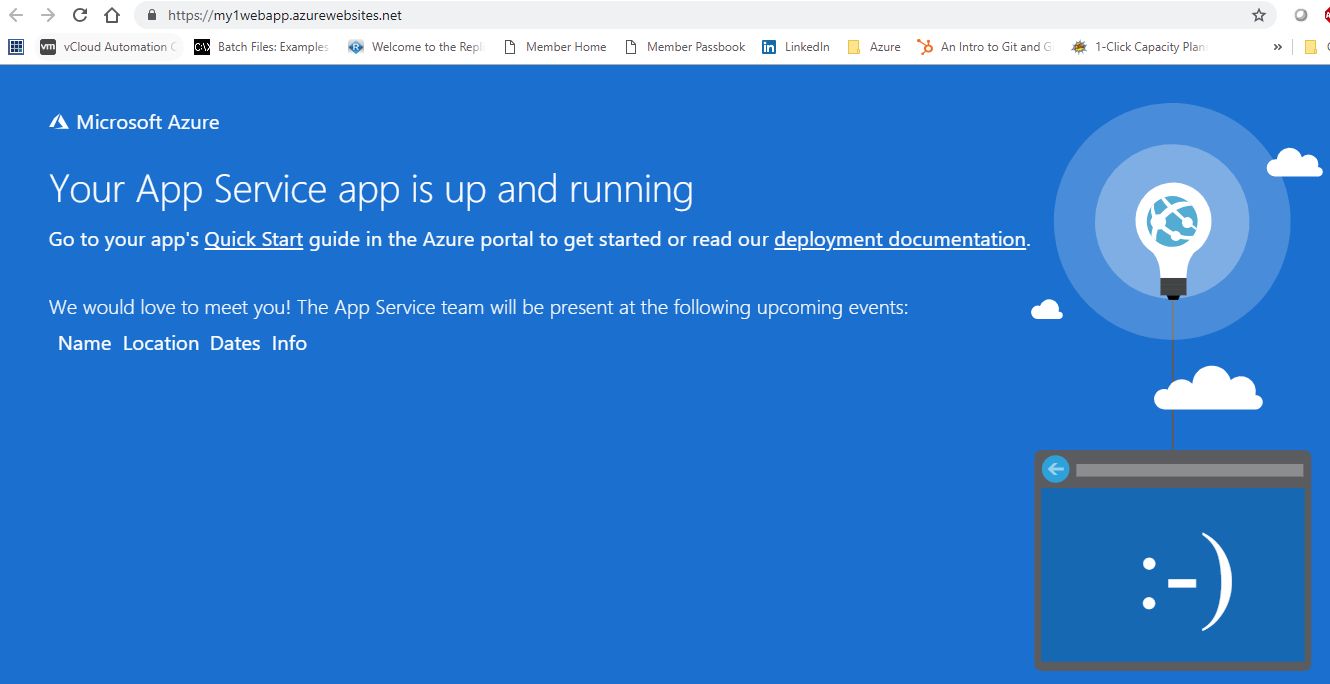
Step 8: When we click on the URL, we would be presented with a page as shown below.
Step 9: Go back to the App Services from Home page where we can see Web App name we just created. Click on the web app name.
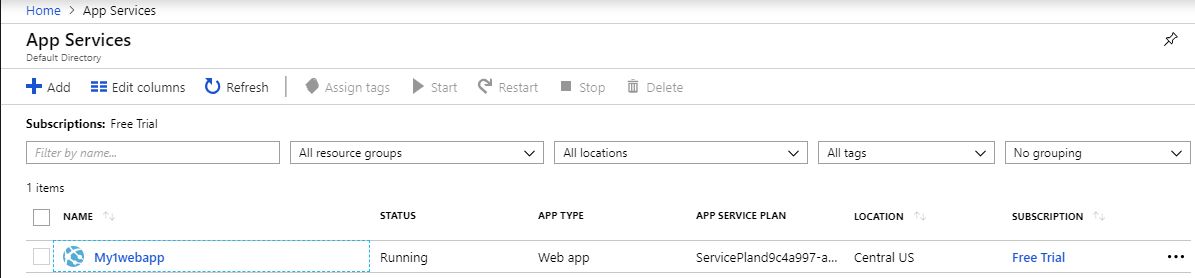
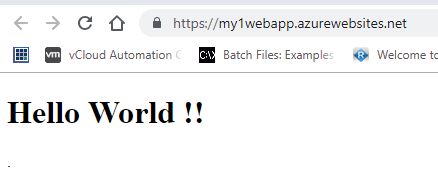
At this point, we will try to add content to the web page (simple “Hello World !!” just for the demo purpose).
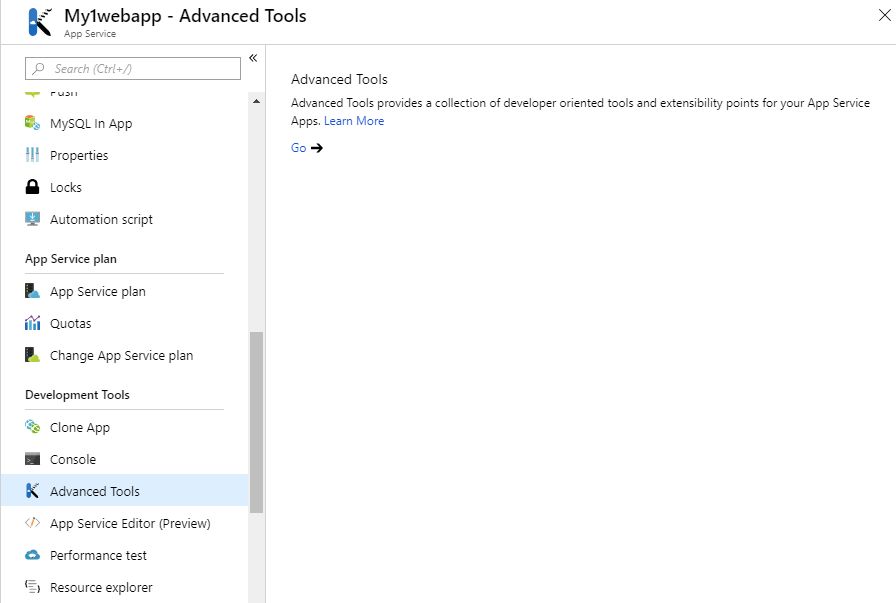
Step 10: The following page would be presented. Select the Advanced Tools (under Development Tools section of the left menu). Click on GO from right pane.
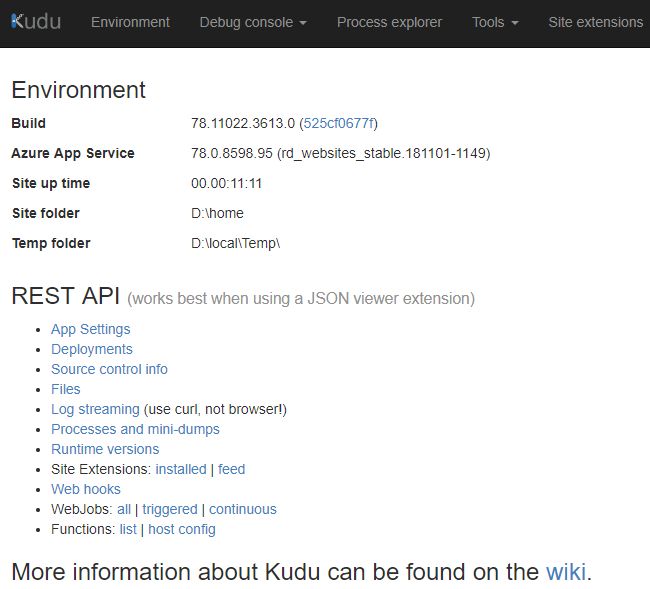
Step 11: Azure KUDU debugging console is presented as shown below.
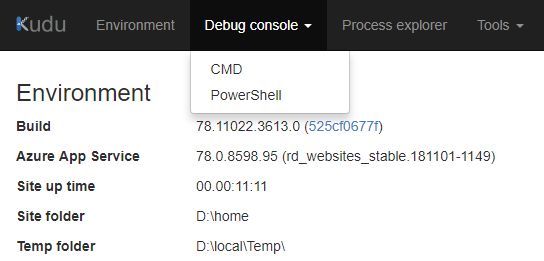
Step 12: From the top menu bar, select Debug Console → CMD.
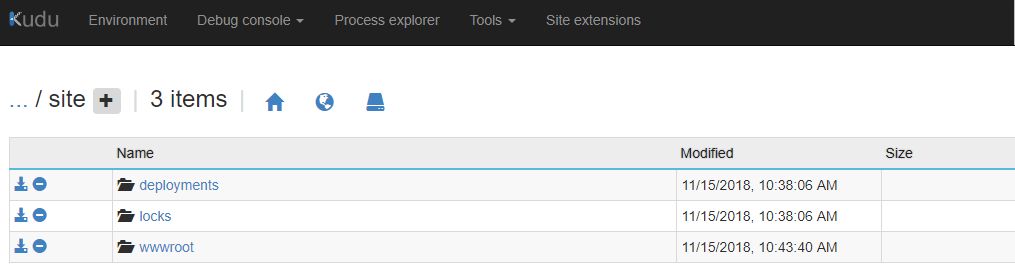
Step 13: Select the Site folder to proceed further
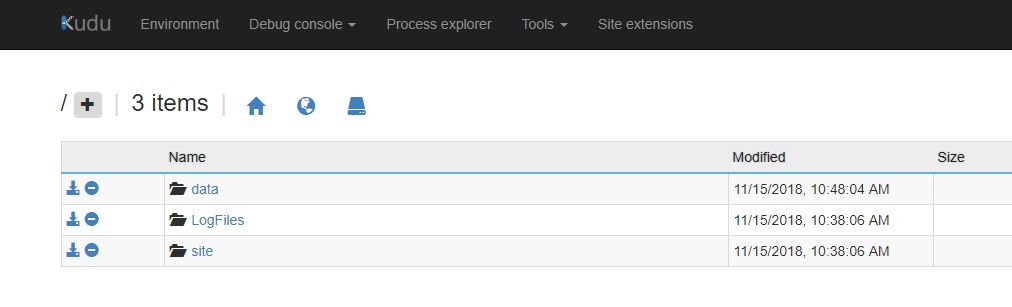
Step 14: Select wwwroot folder to proceed further.
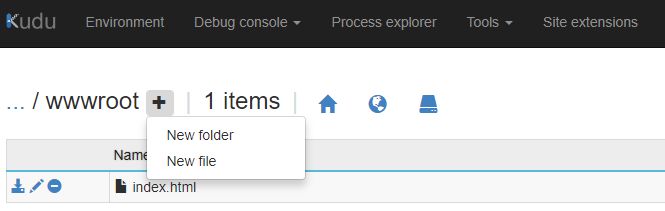
Step 15: We can see the html related to the default home page here. This can be renamed, for instance, to index.html and we can modify the code in there.
- We can also add more code by clicking the + icon after /wwwroot.
- We can add the simple “Hello World !!” text on the index.html page (for demo purpose) by clicking the edit icon (pen symbol against the index.html)
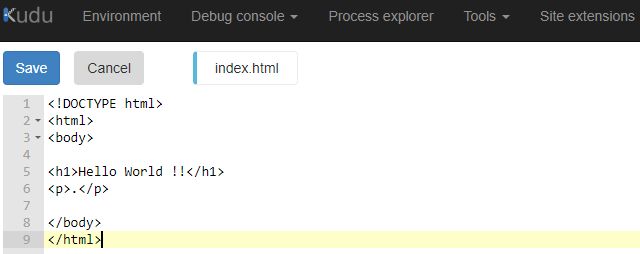
Step 16: Here is the modified content of index.html
Step 17: Go back to Home App Services My1webapp Overview
Click the Browse button to view the web page with modified content.
Here is the web page with modified content.