
This article is a detailed tutorial on exposing RESTful webservice using Boomi API management.
Boomi API Management
Boomi API Management feature enables an API publisher to expose versioned APIs for a logical group of APIs. An API consists of a set of REST, SOAP or OData endpoints. The Boomi APIs are implemented as deployable API components.
Note: The Web Services Server connector, which is available as part of the AtomSphere Services Enablement feature, is the simplest/default method for deploying a web service that can be used in a standalone environment without using the API components. API management can be used for building more robust and advanced web services management. The differences and criteria for choosing between web services server connector and API component can be found at difference between web services server component and API component.
We will be exposing a simple RESTful web service that was built using Web Services Server Connector on Boomi Platform. The blog link for the same can be found at Build RESTful web service on Boomi platform using Web Services Server Connector component.
Modify Shared Web Server API Type setting to Advanced.
1. Login to https://platform.boomi.com/ with your userID and password.
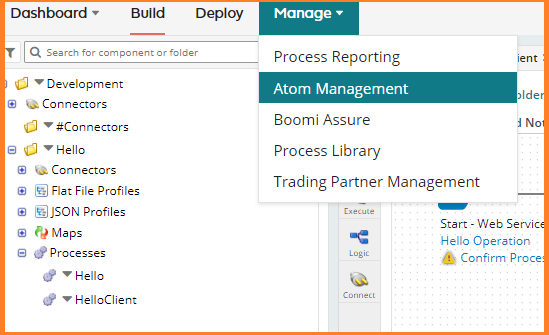
2. Click on Manage -> Atom Management.
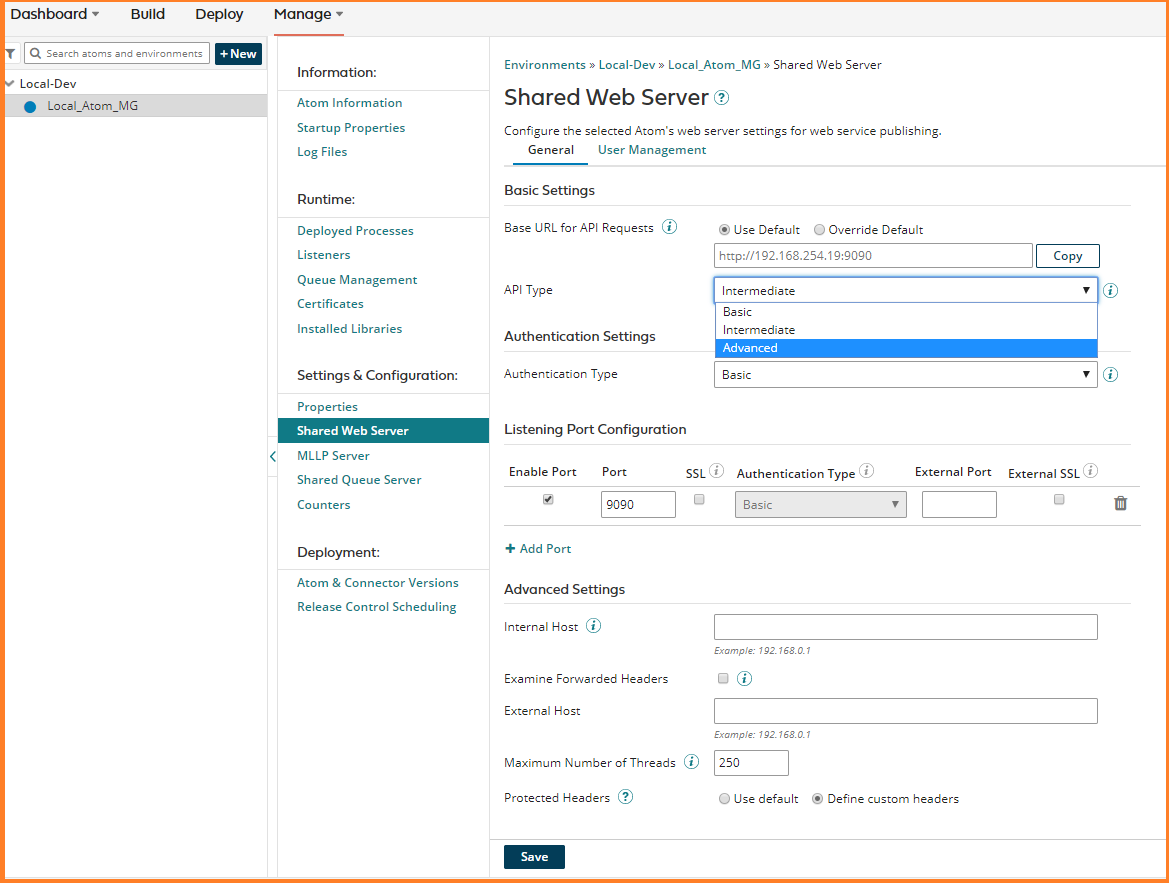
3. Click on local atom Local_Atom_MG on which you deployed your Hello RESTful web service that was developed.

4. Click on Shared Web Server.

5. Change the API Type to Advanced and click Save.
Note: The available API types options Basic, Intermediate and Advanced. We will be using Advanced type in our example.
Note : Configuring Basic Authentication settings and adding a user can be found in the blog Enabling Basic Authentication and adding a user.
6. Click Yes, restart plugin now.

7. Shared Web Server settings are updated.
Create Hello API Management service.
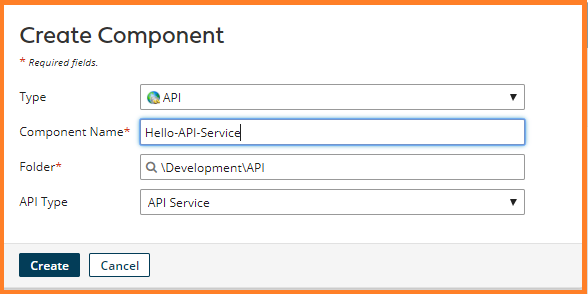
1. Create a folder API under the Development folder. Create a component under the API folder.
Type – API
Component Name – Hello-API-Service.
API Type – API Service
Click Create.
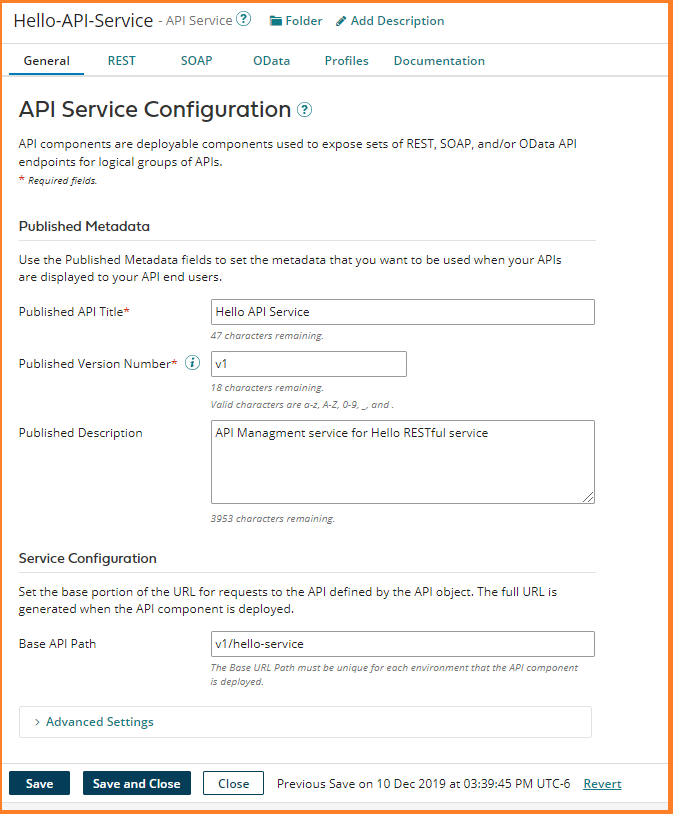
2. Enter the following details under General and Click Save.
Published API Title – Hello API Service
Published API Number – v1Published Description – API Managment service for Hello RESTful service
Base API Path – v1/hello-service
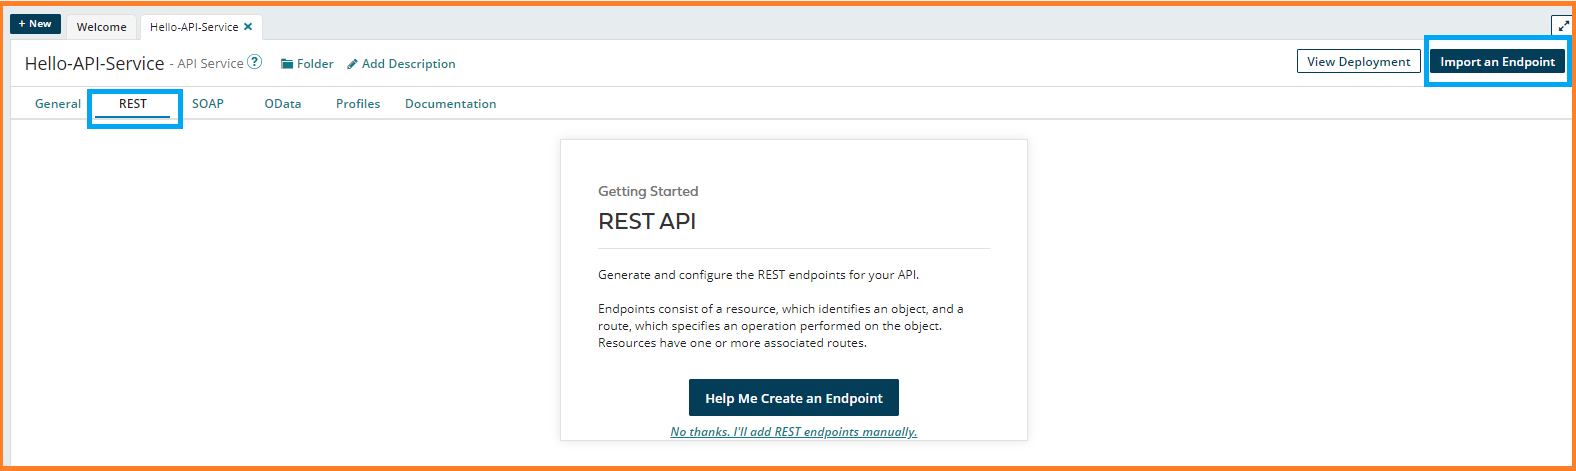
3. Click REST. Click on Import an Endpoint.
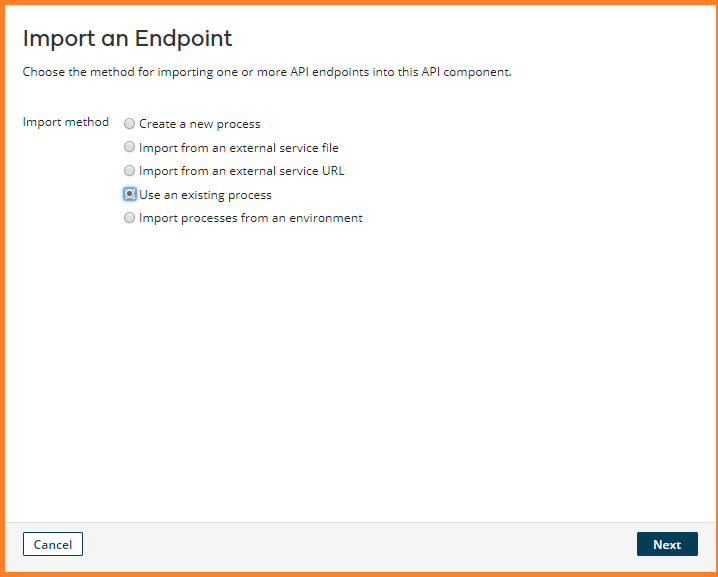
4. Choose Use an existing process and click Next.
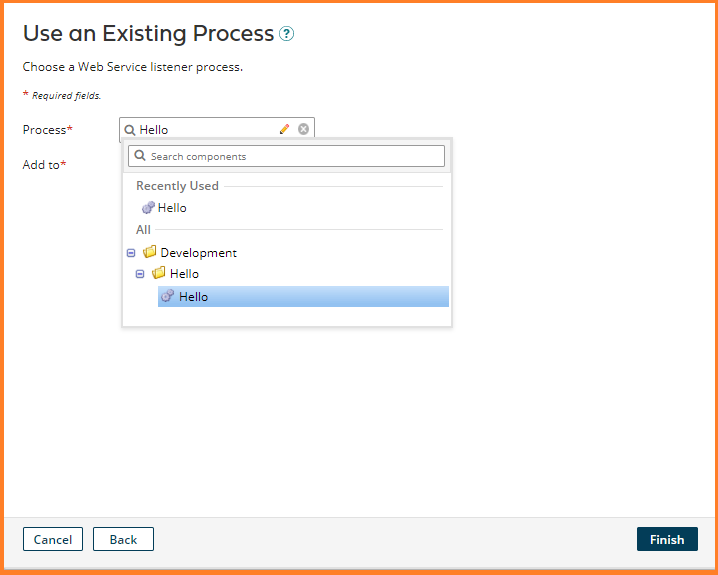
5. Select Process – Hello and Add to – REST Checked. Click Finish.
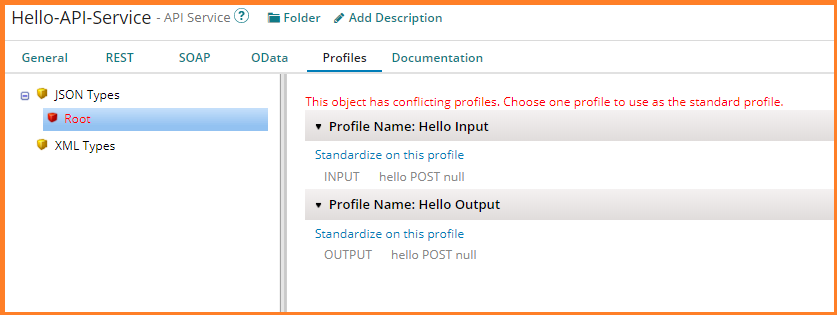
6. Click on Profiles -> Root. Click on Standardize on this profile under
Profile Name: Hello Input.
7. A dialog appears. Click OK.

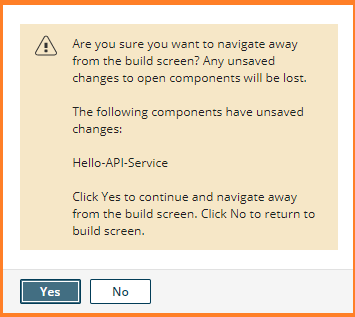
8. Click on View Deployments.

9. A dialog box appears. Click Yes.
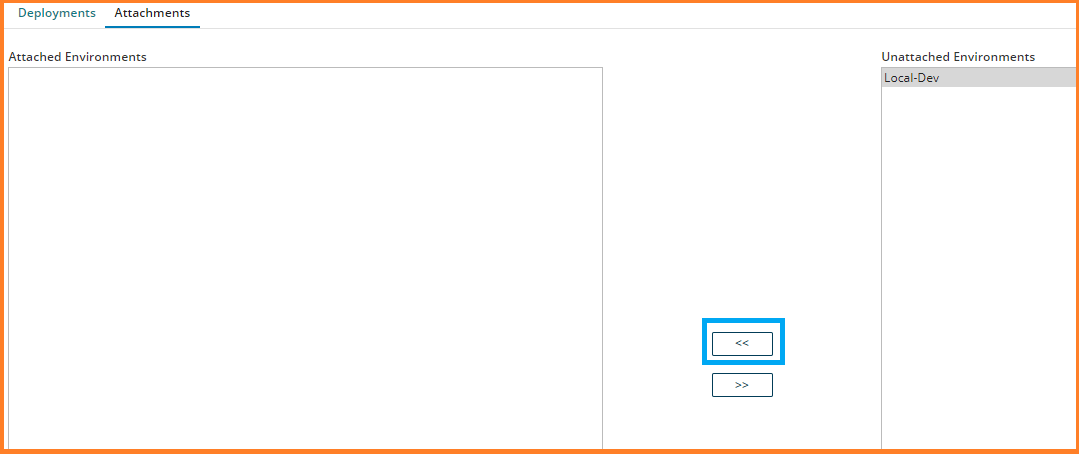
10. Select Local-Dev under Unattached Environments and Click ![]() to move to Attached Environments.
to move to Attached Environments.
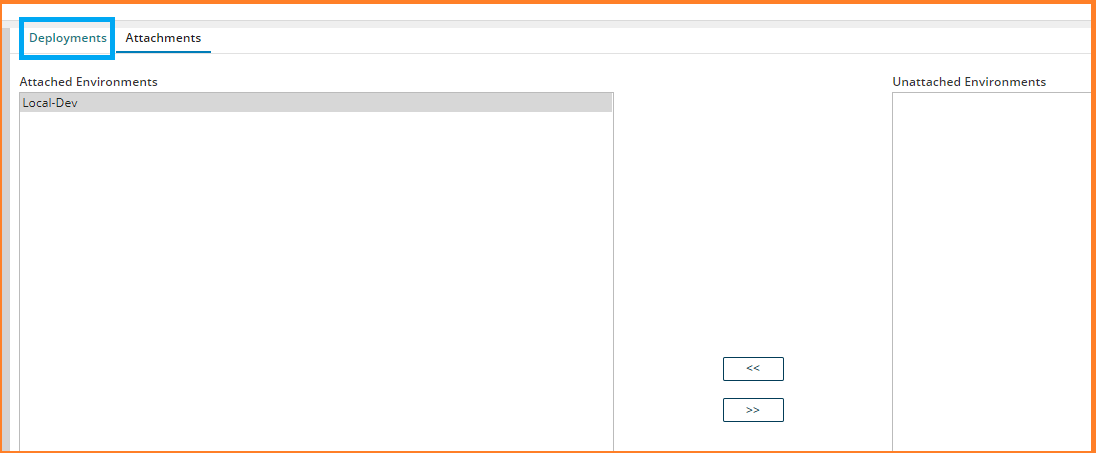
11. Click on Deployments
12. Click on Deploy Latest Revision of API Service.
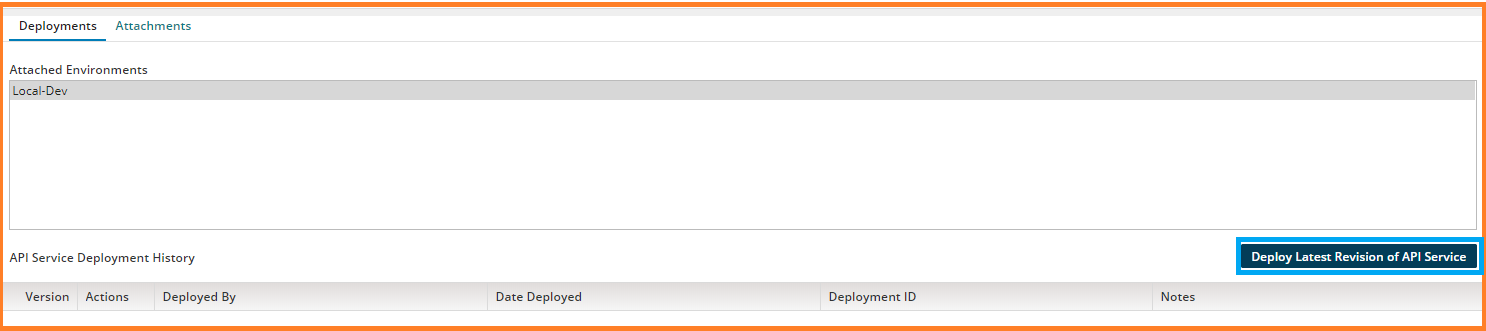
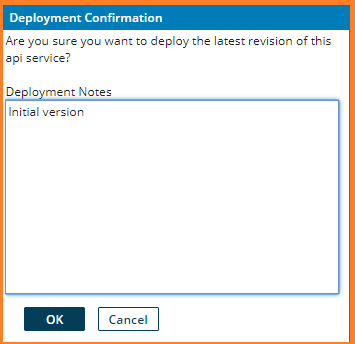
13. A Deployment Confirmation dialog appears to add Deployment Notes. Enter Deployment notes and Click OK.
14. An entry appears under the API Service Deployment History.

Testing the Hello API Service using the Boomi API Swagger Visualization portal.
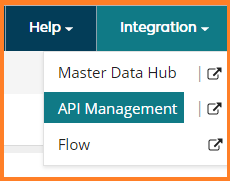
1. On the top right corner, click on Integration dropdown and select API Management to Switch to API Management.
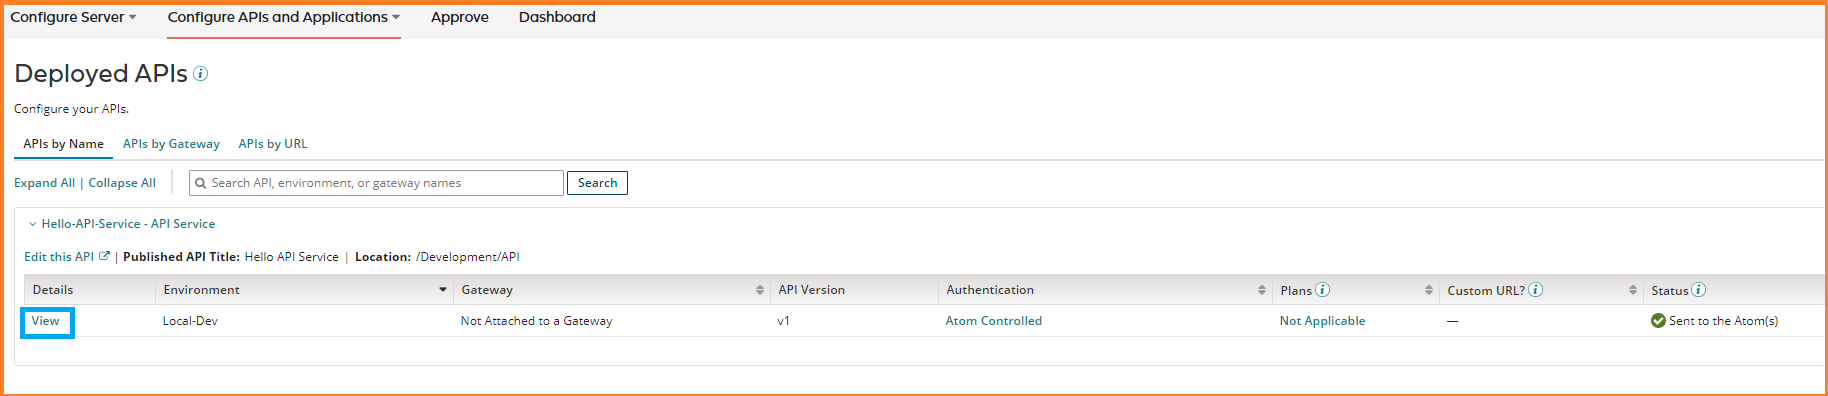
2. You should be able to view the deployed API service. Click on View.
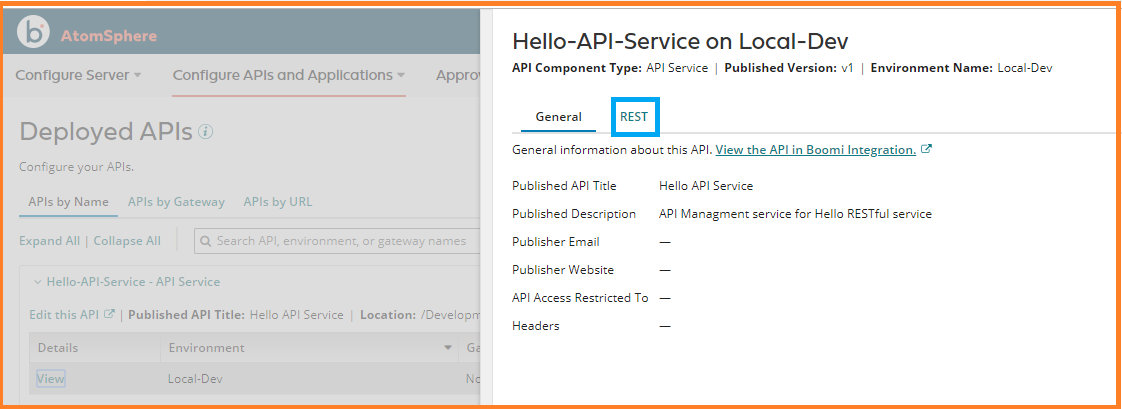
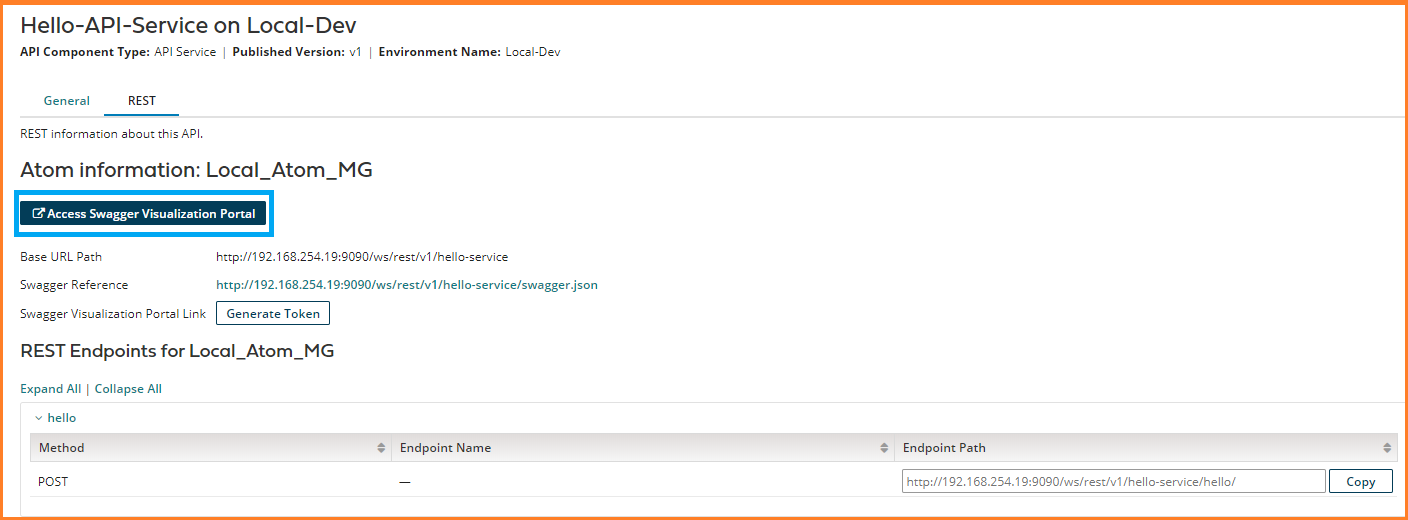
3. Click on REST.
4. Click on Access Swagger Visualization Portal
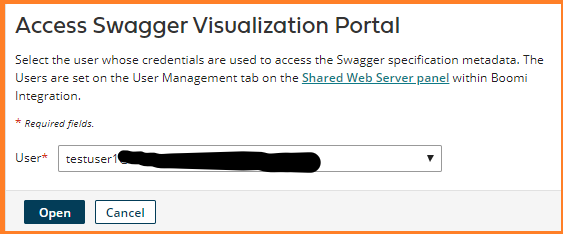
5. A dialog box appears. Select a user and click Open.
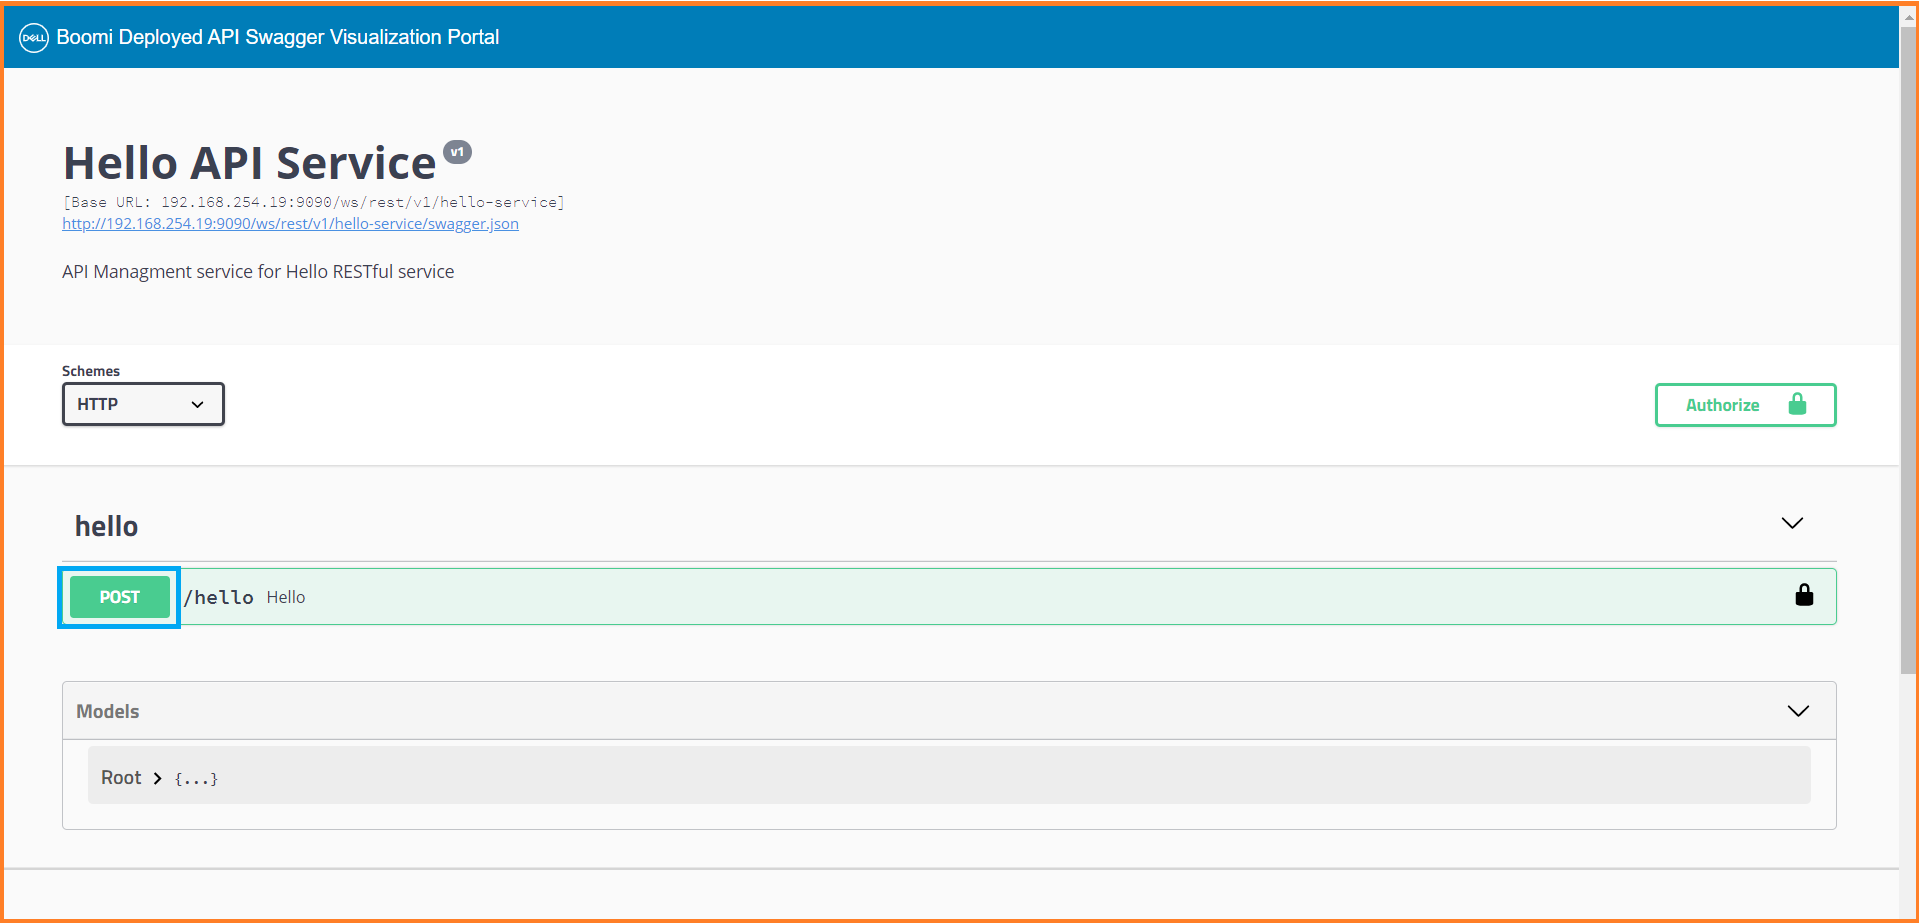
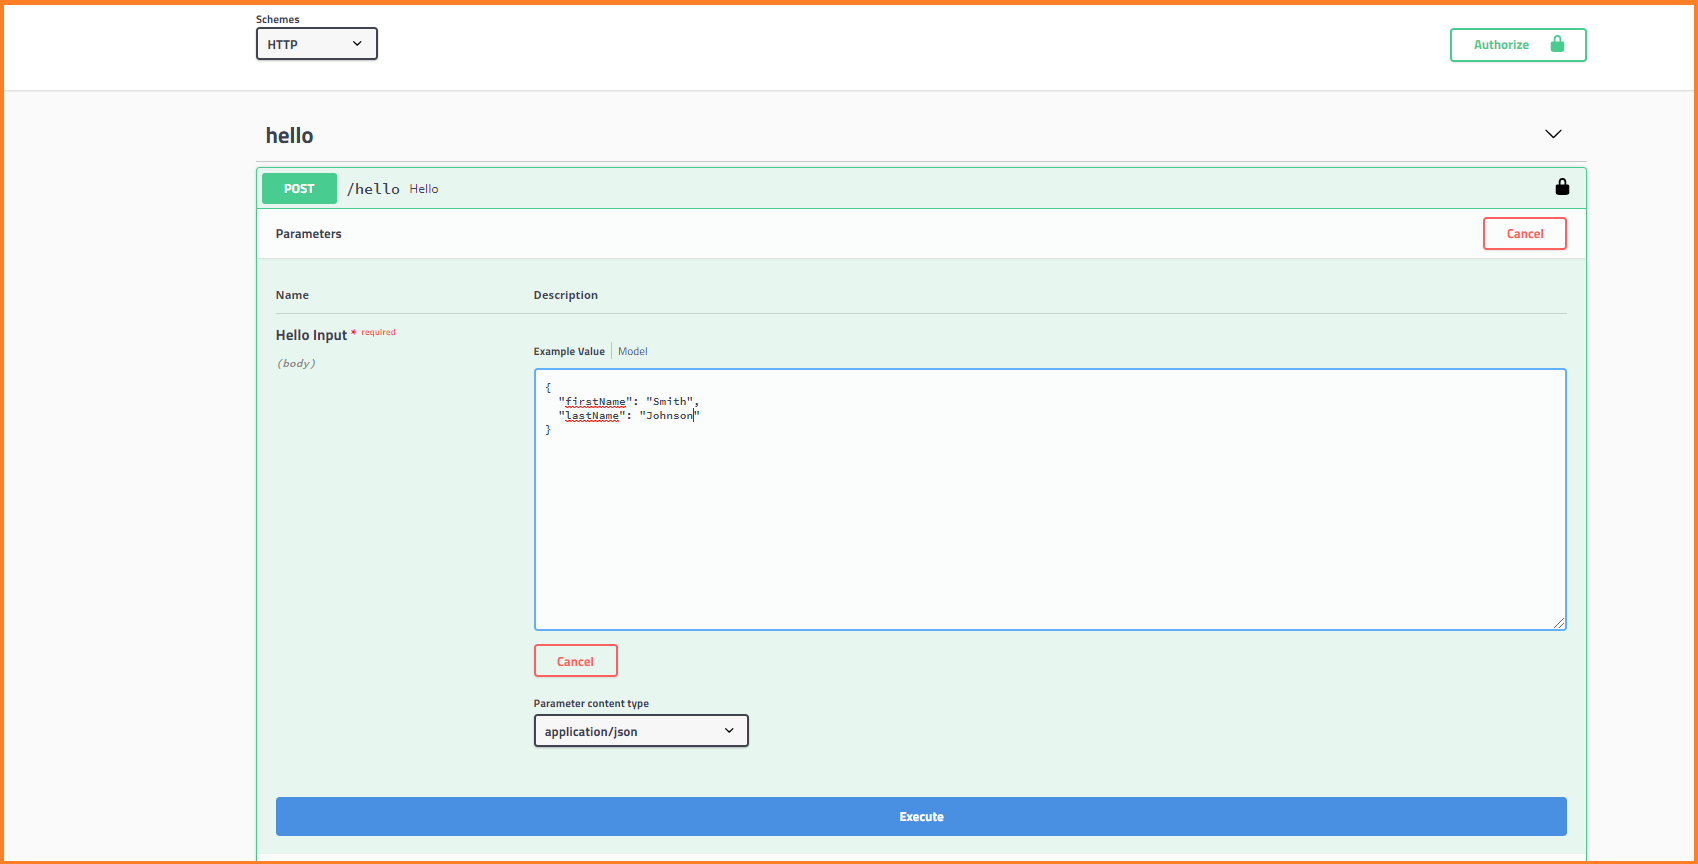
6. A Boomi Deployed API Swagger Visualization portal opens up with the Hello API Service. Click POST.
7. Click Try it out.
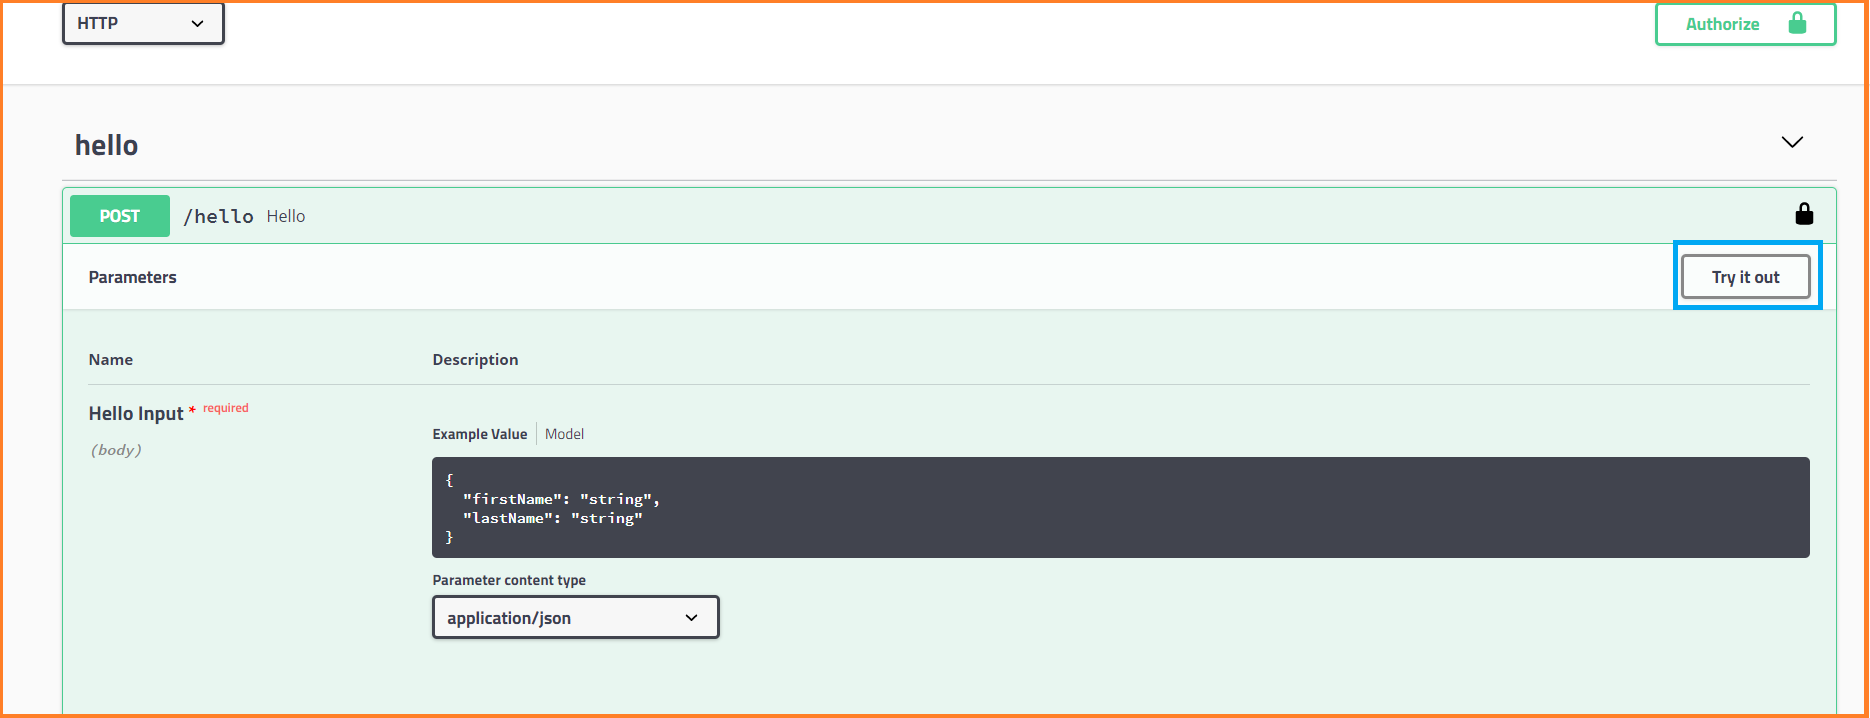
8. Enter the below JSON request in the Hello Input text area and click Execute.
{

  "firstName": "Smith",

  "lastName": "Johnson"

}
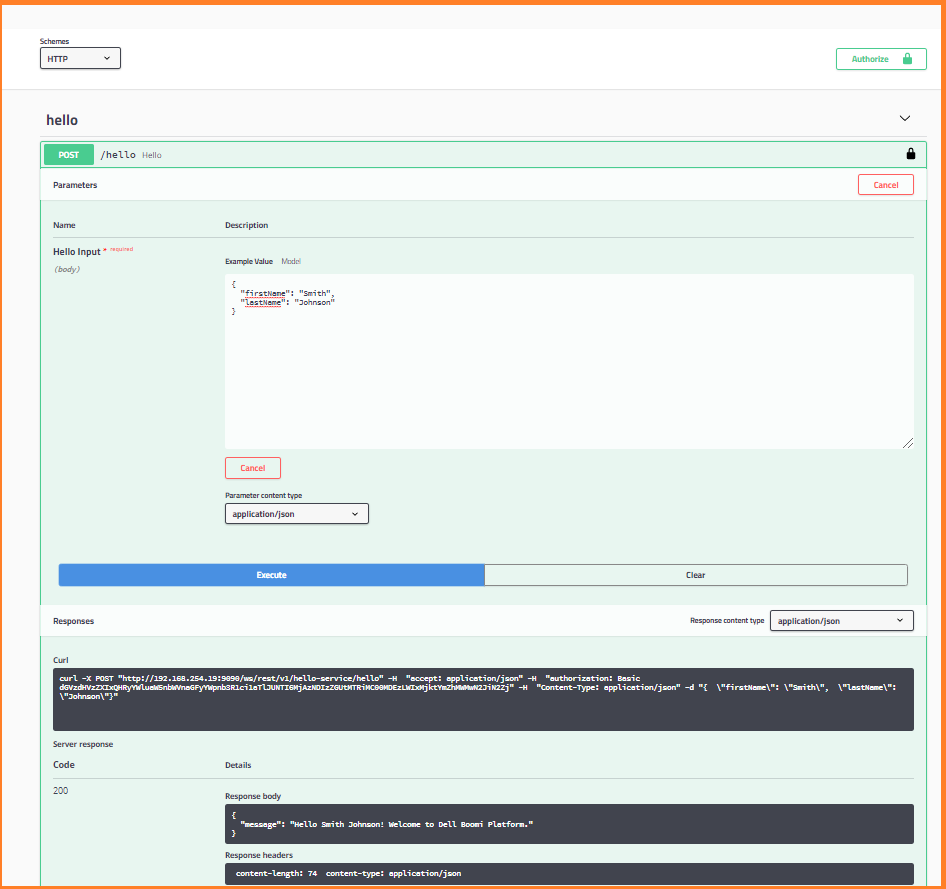
9. Validate the response received from the API service.
Testing the Hello API Service using Postman.
1. Download postman from https://www.getpostman.com/downloads/ and install it.
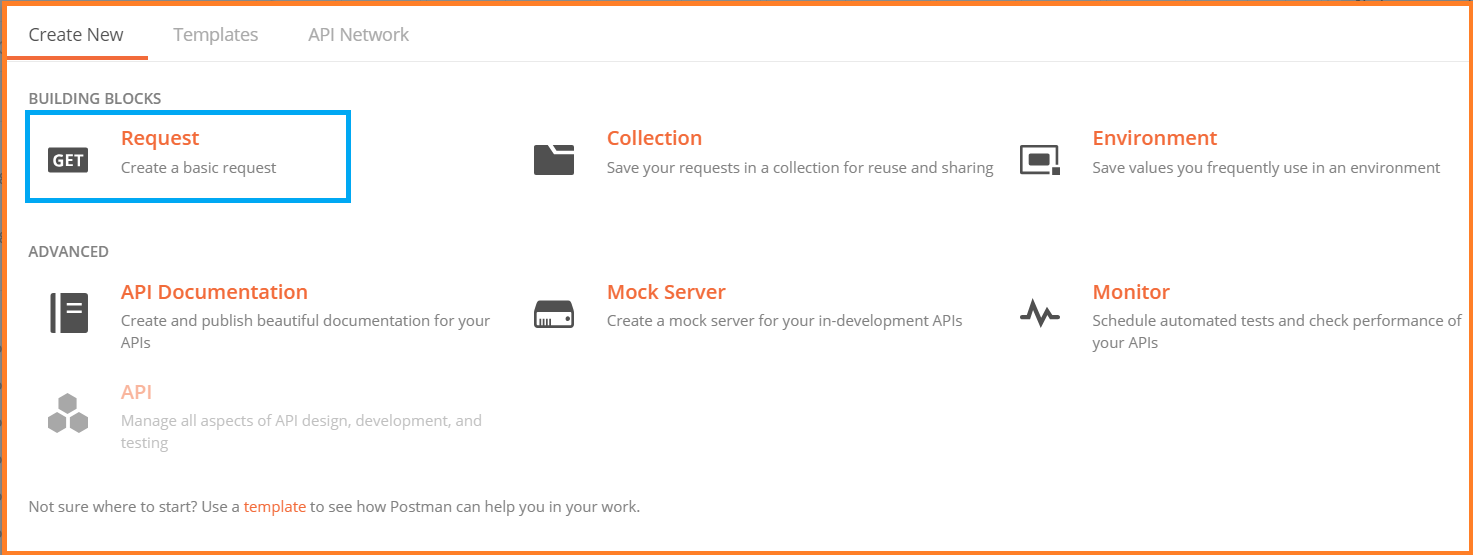
2. Click on New.

3. Click on Request.
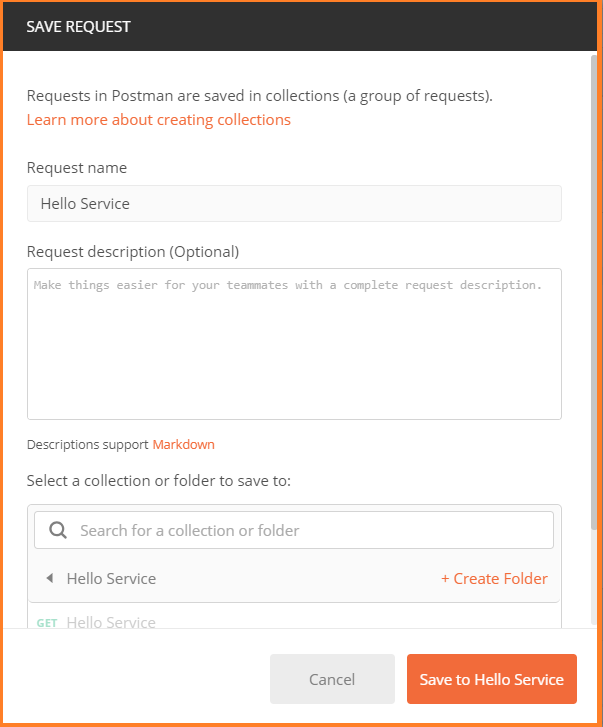
4. A Save Request dialog appears. Enter the details and click Save.
Request Name – Hello Service.
Click ![]() to add a Hello Service folder to store all the Hello API service test requests.
to add a Hello Service folder to store all the Hello API service test requests.
Click Save to Hello Service.
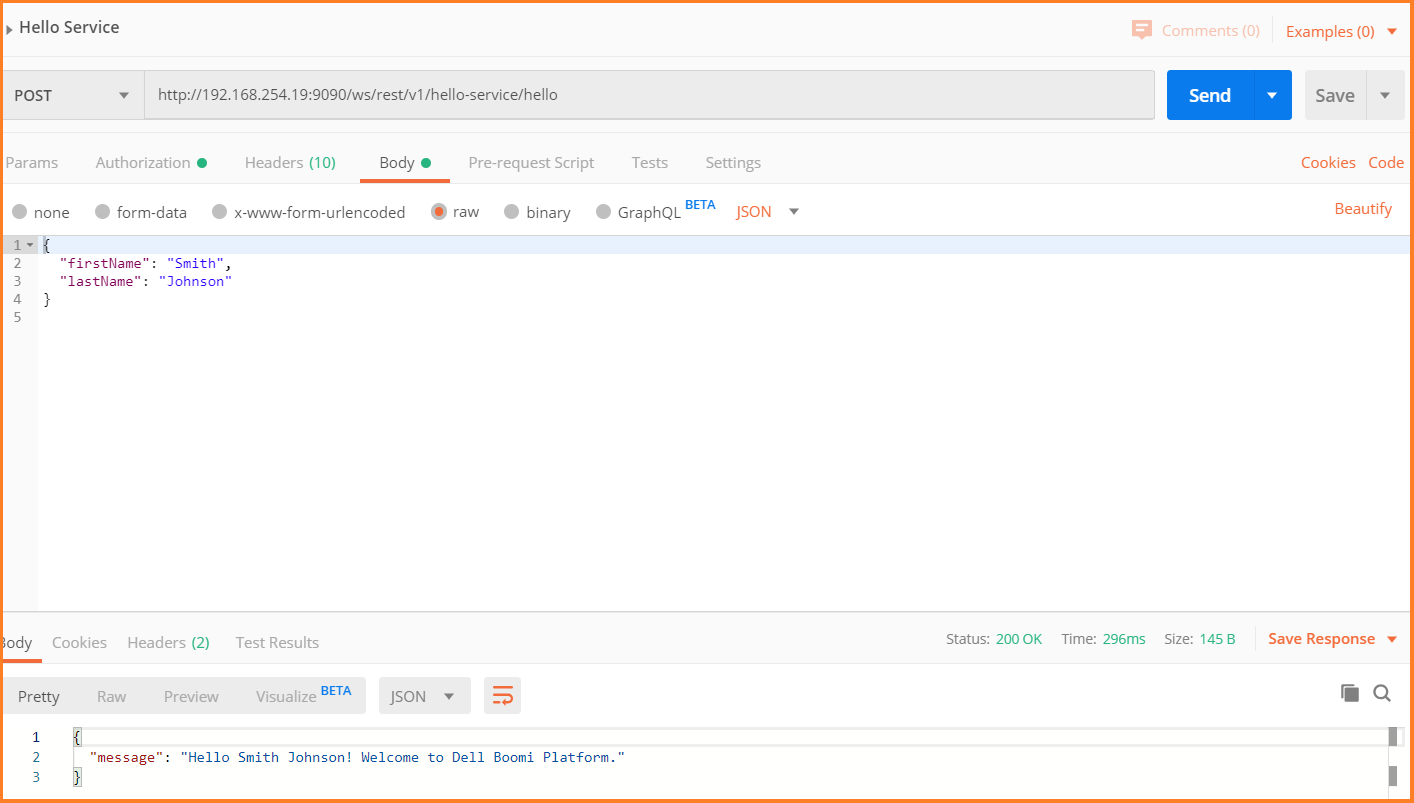
5. Click on the GET dropdown and select POST.

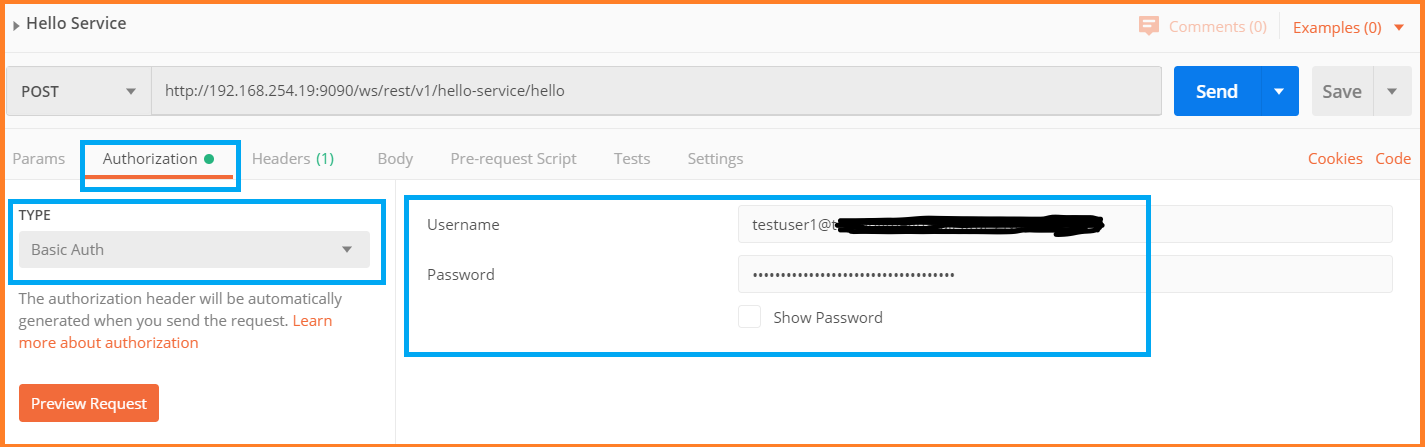
6. Enter the URL in the Enter request URL text field. This should be the URL of the API service exposed by the Boomi API management. Click Authorization.
7. Select Type – Basic Auth. Enter Username and Password. Click Preview Request.
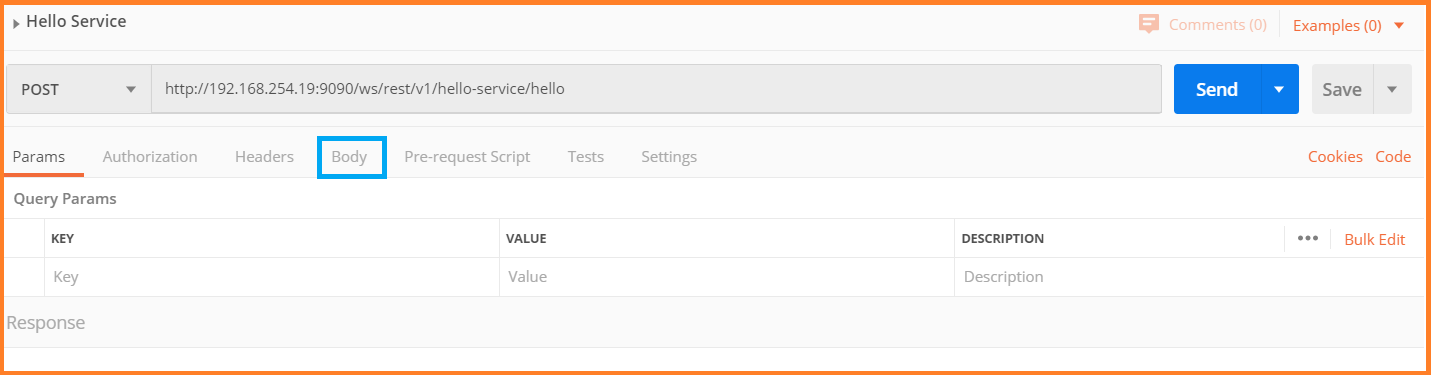
8. Click Body.
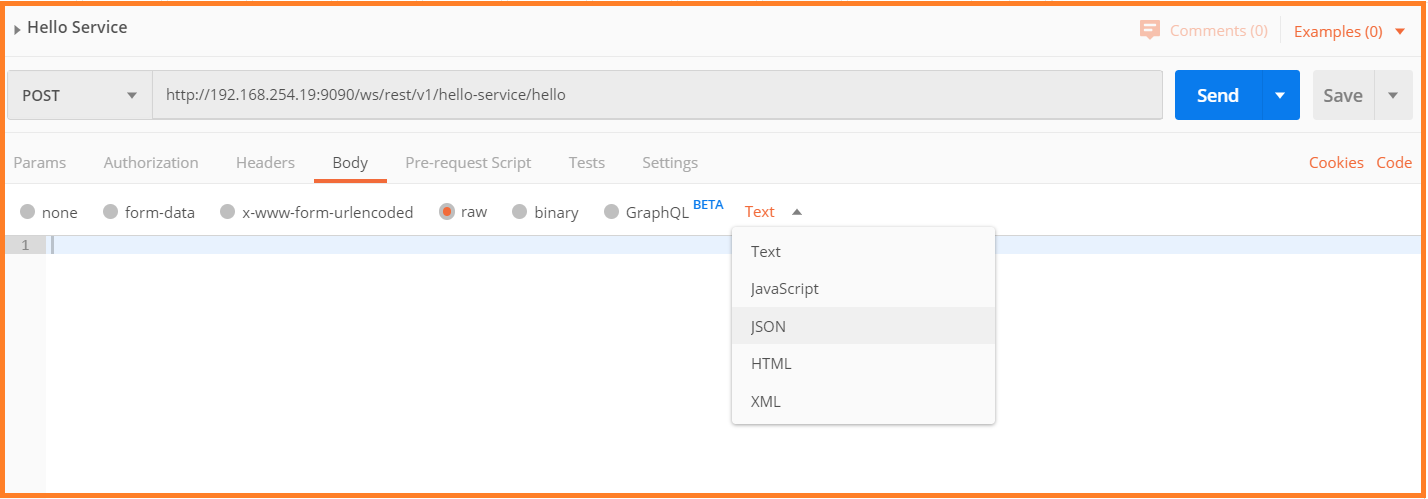
9. Choose raw

10. Click on the Text dropdown and select JSON type.
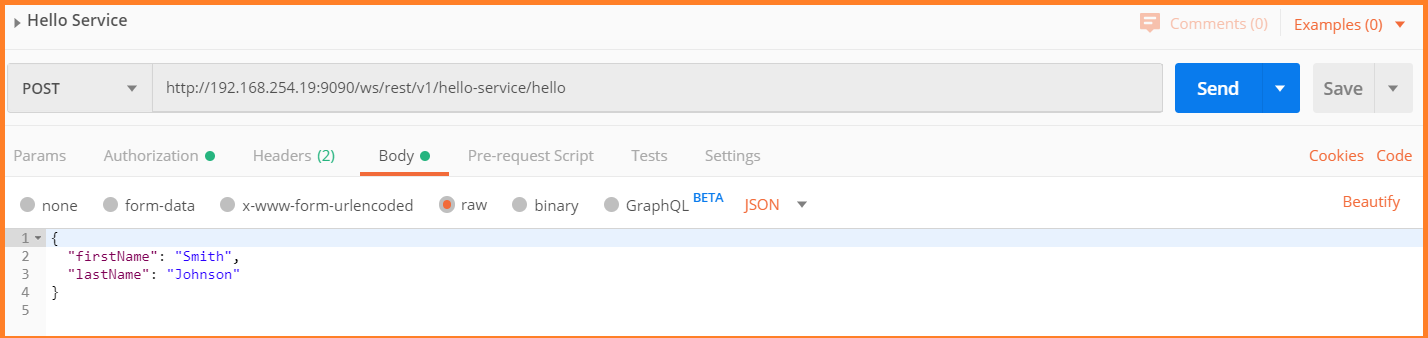
11. Enter the below JSON request in the text area and click Send.
{

  "firstName": "Smith",

  "lastName": "Johnson"

}
12. Validate the response received from the API request.
This completes exposing RESTful web service using Boomi API management.

Reference links: